Note:
The item location is abroad. Please note that this may affect delivery conditions, shipping times, and/or the purchasing process.
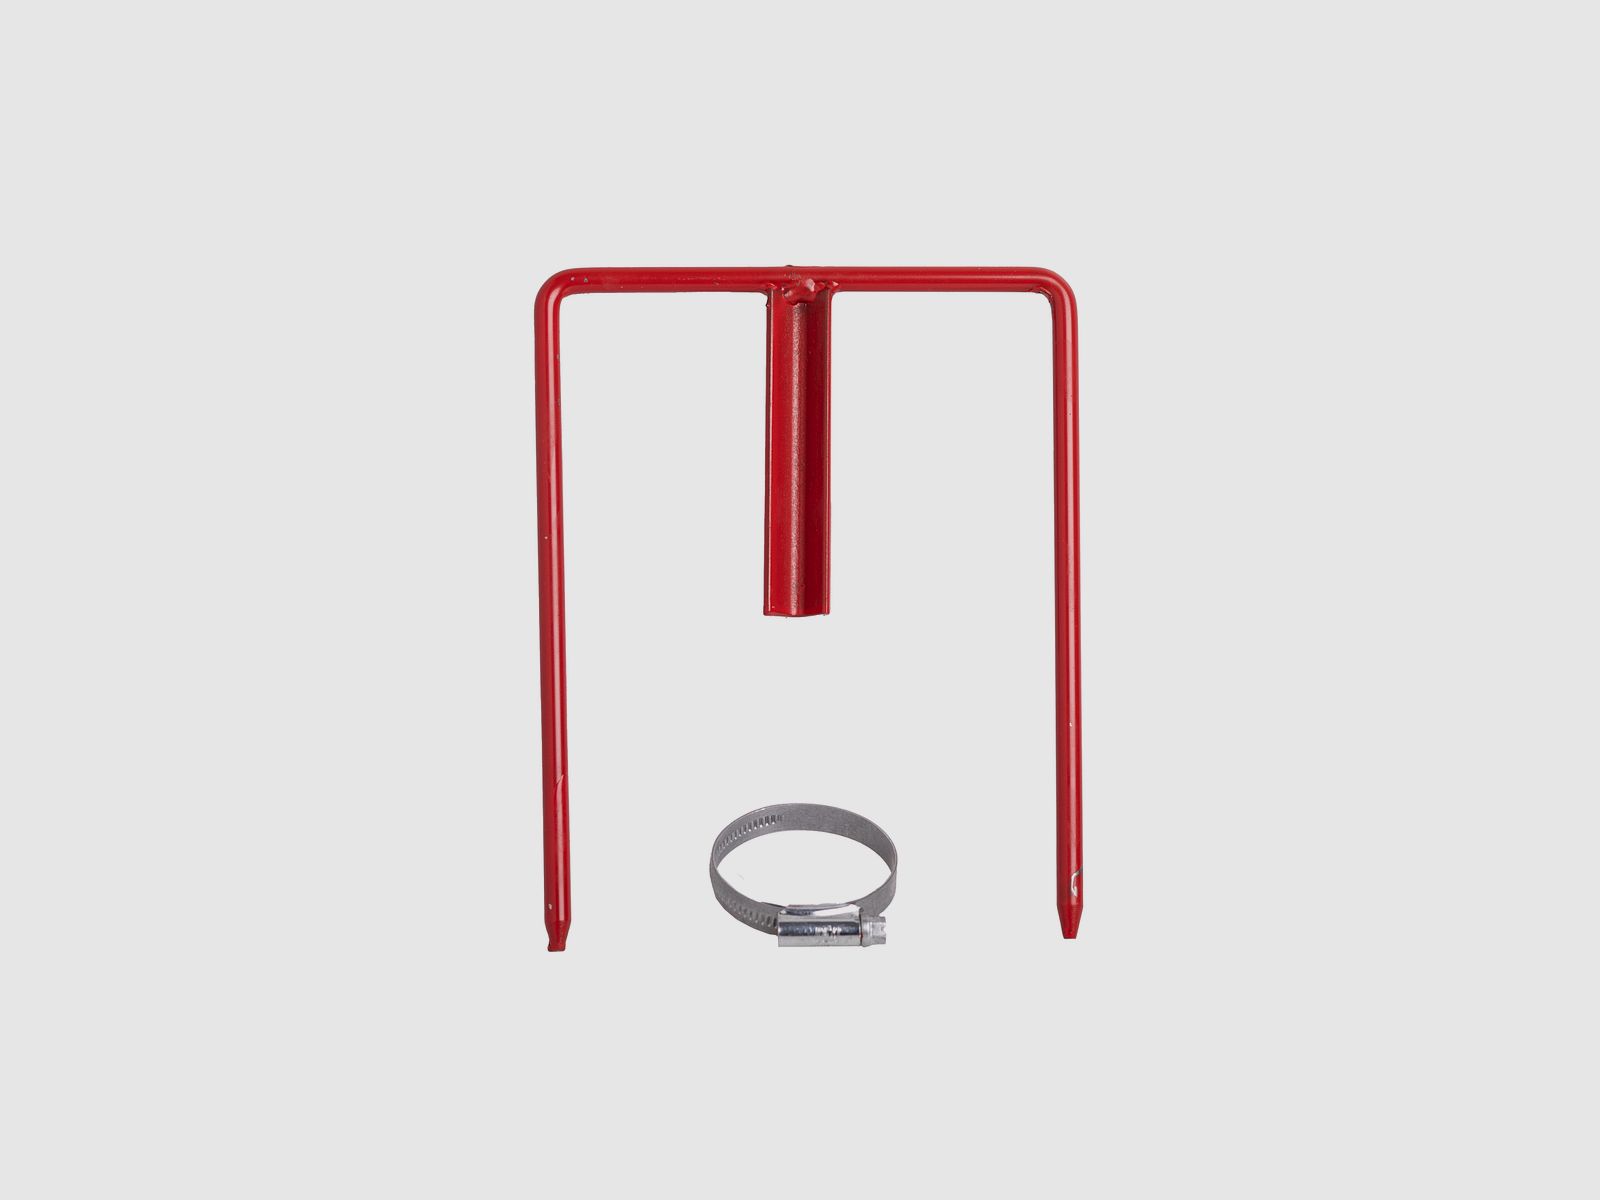
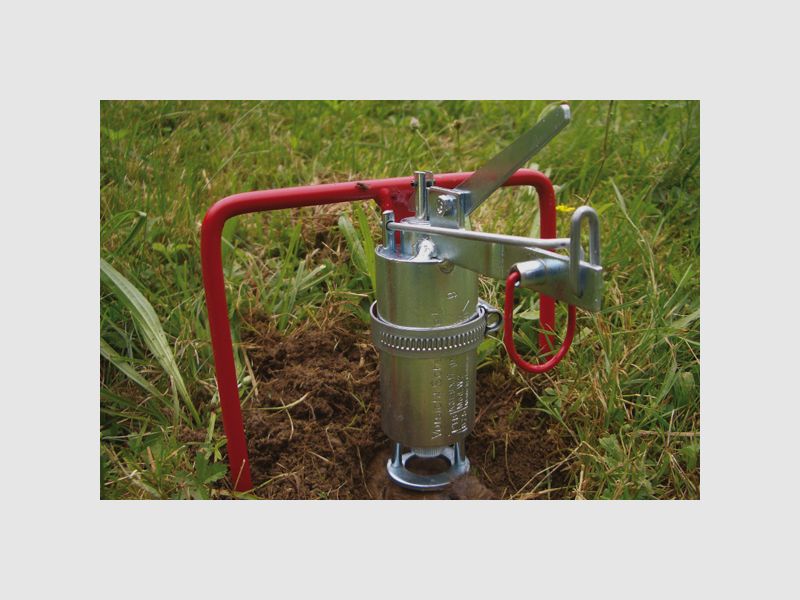
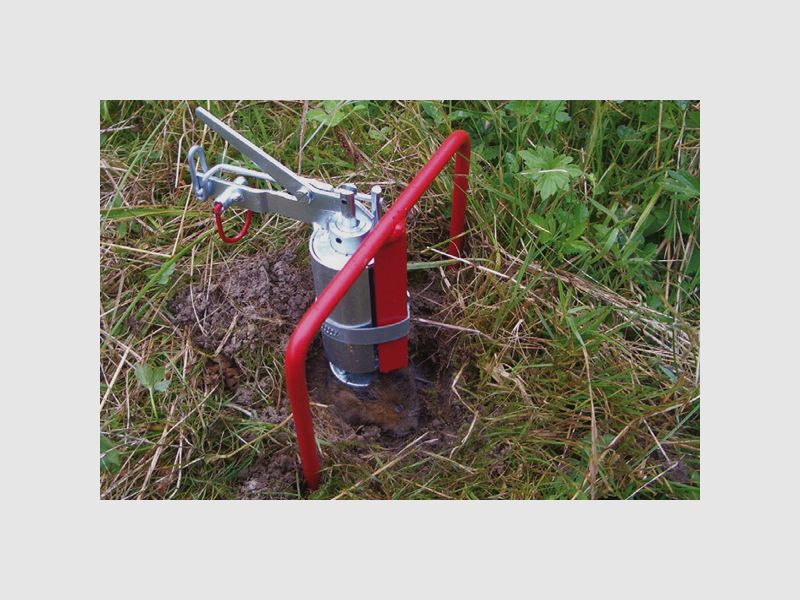
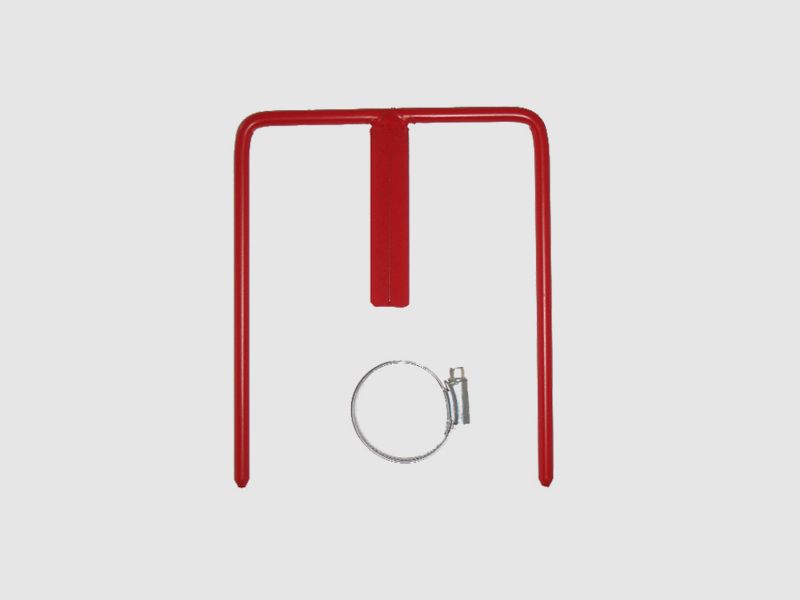
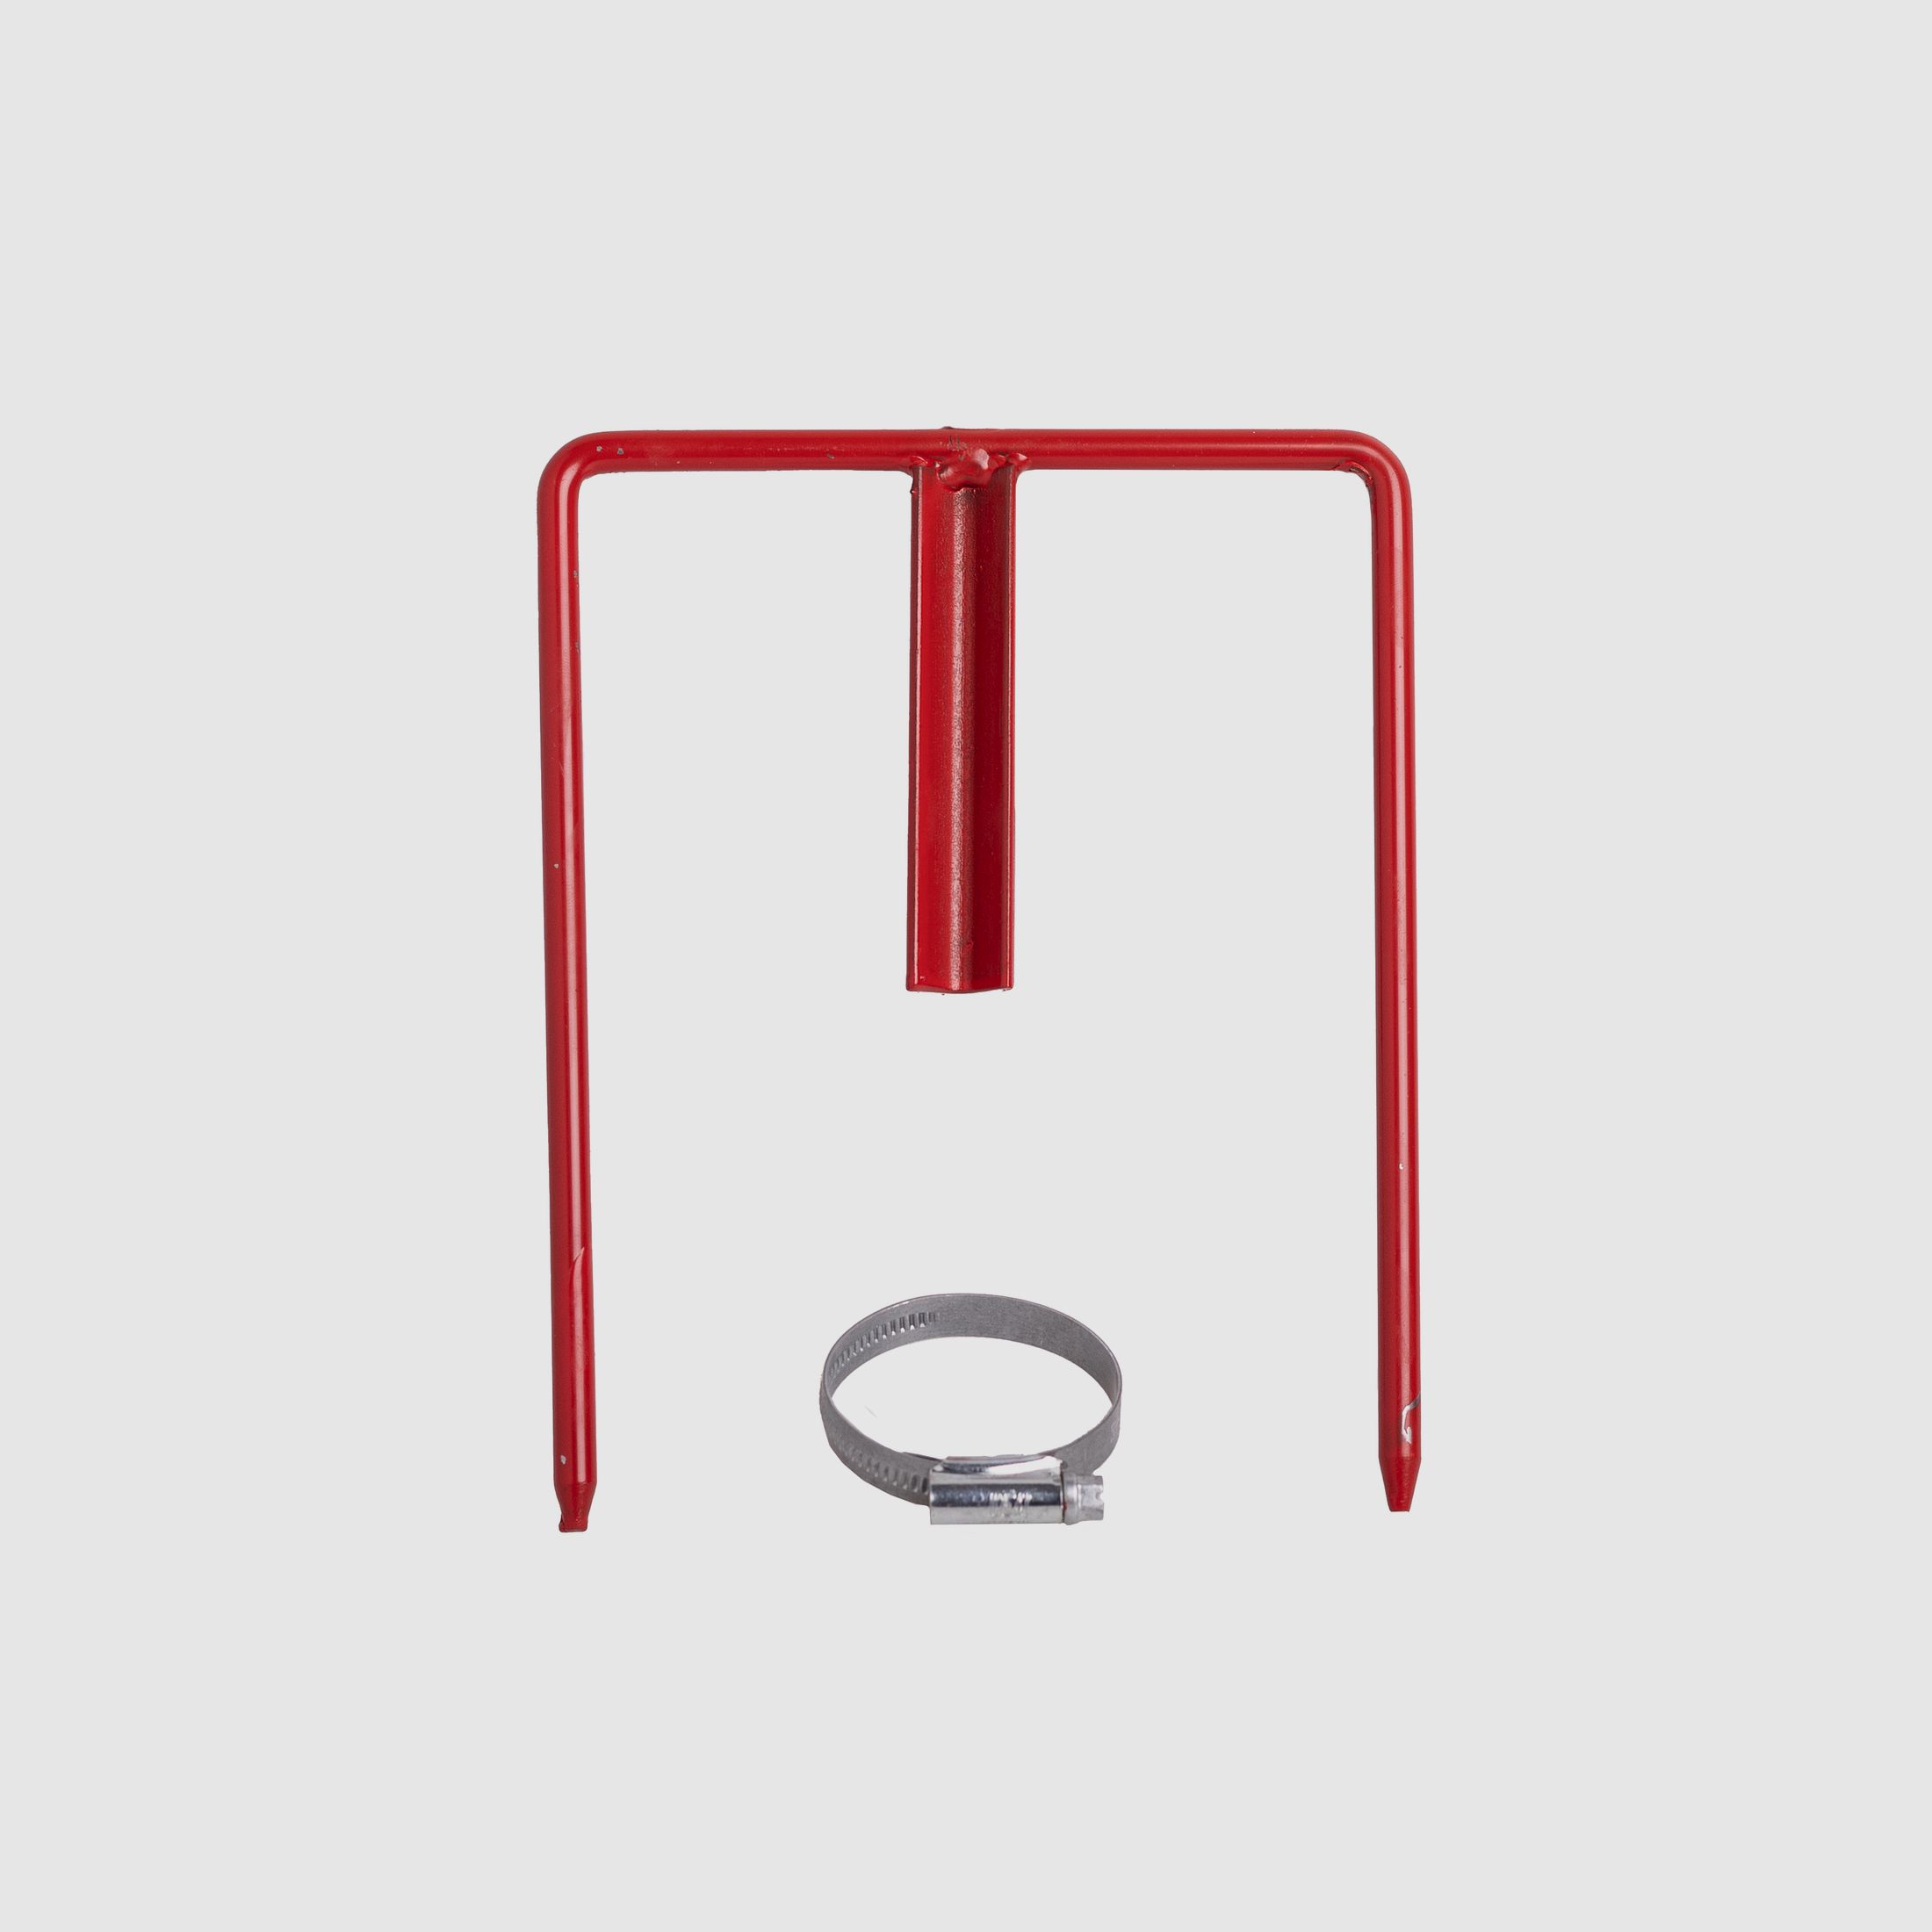
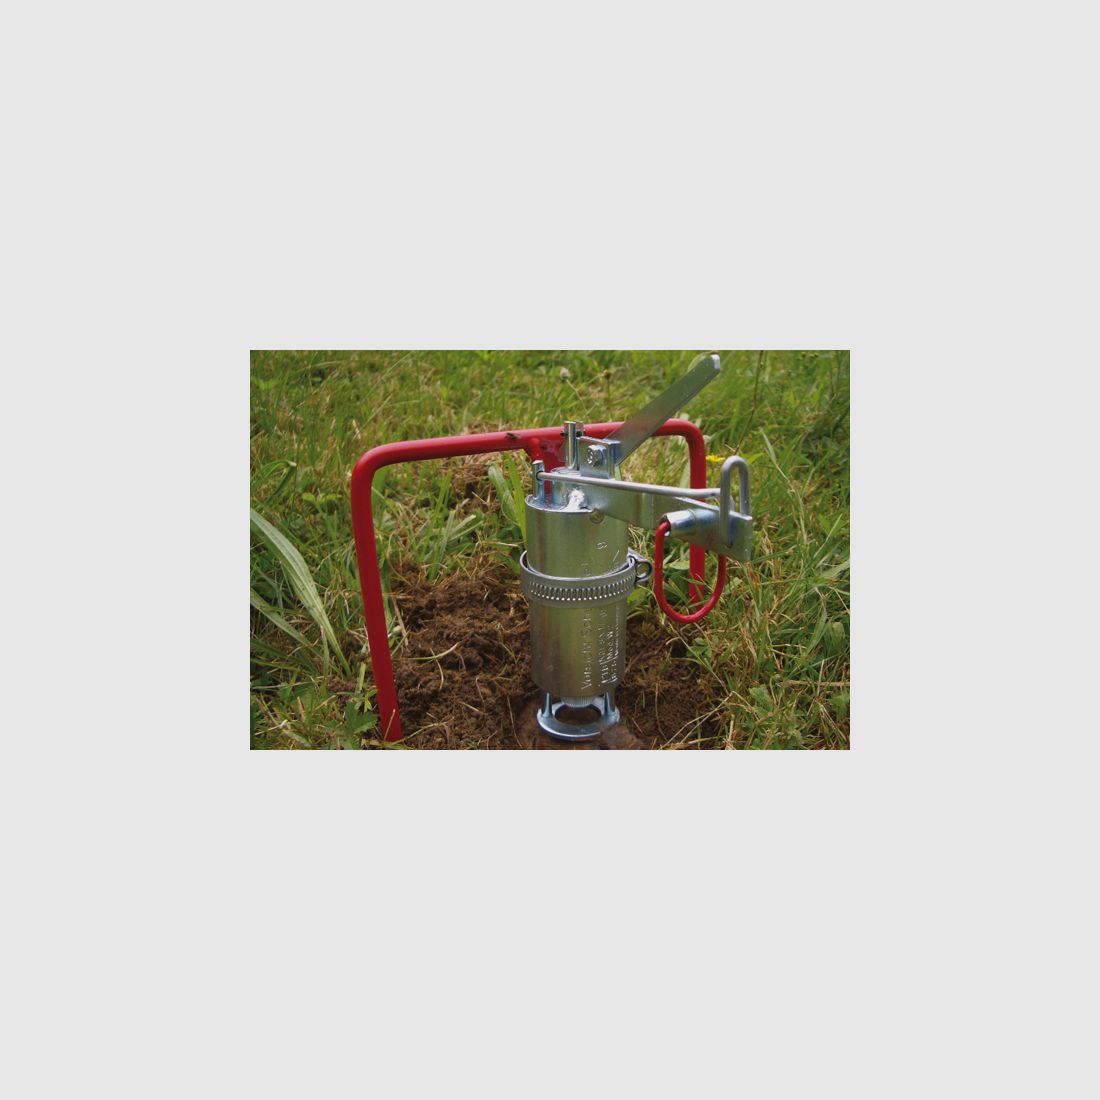
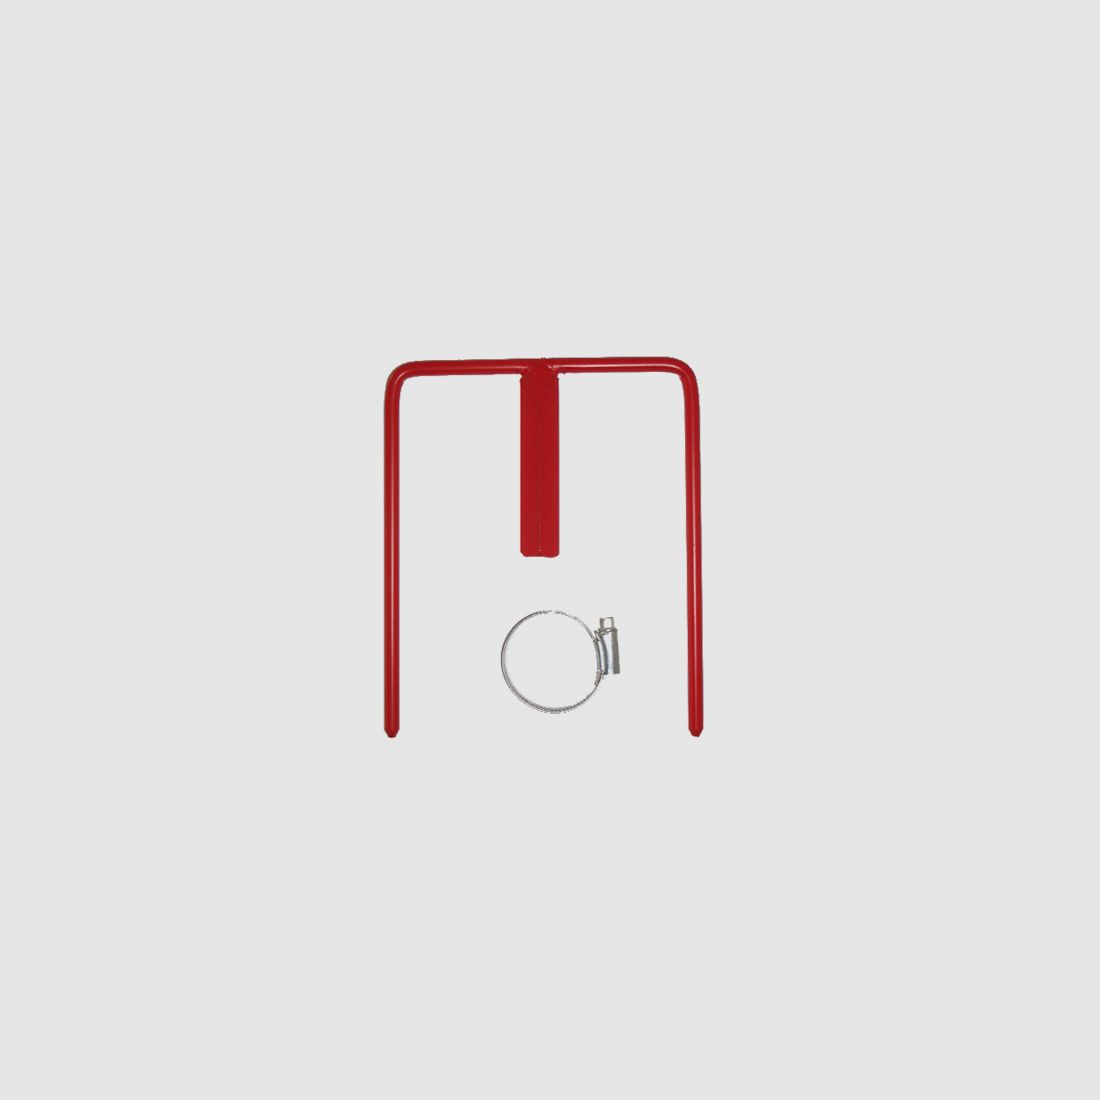
The problem: Often, the self-triggering trap W2 is filled with soil from the back by voles when they are on the opposite side of the trigger in the tunnel. The solution: With our new self-trigger holder, the W2 is simply placed vertically from above into the slightly opened vole tunnel. The trigger ring of the armed device should be positioned about halfway up the tunnel. When the vole tries to pass through the tunnel, it inevitably pushes the trigger ring upwards. This releases the shot and ensures a quick kill. Easy handling, even for beginners, no soiling of the device, and virtually no misfires. Application: Attach the vole self-trigger as shown in the illustration using the supplied clamp with a screwdriver to the self-trigger holder. Partially tension and load the device according to the instructions. Then insert the self-trigger holder horizontally into the ground from above into the vole tunnel. Finish tensioning the device. The trigger ring should now protrude halfway into the vole tunnel. Adjust the height by inserting the self-trigger holder more or less deeply into the ground. Finally, deactivate the device; it is now armed and ready to catch. Unload or remove according to the instructions.
(Show description in original language)
Das Problem: Oft wird der fängisch gestellte Selbstschuss W2 von Wühlmäusen von der Rückseite mit Erde zugewühlt, wenn diese sich in der Auslösung entgegengesetzten Seite des Ganges befinden.Die Lösung: Mit unserem neuen Selbstschusshalter wird der W2 einfach senkrecht von oben in den leicht geöffneten Wühlmausgang gestellt. Der Auslösering des scharf gestellten Geräts soll sich etwa in halber Höhe des Ganges befinden. Wenn die Wühlmaus den Gang passieren will, drückt sie unweigerlich den Auslösering nach oben. Dabei löst sie den Schuss aus und wird sicher getötet. einfache Handhabung, auch für Anfänger kein Verschmutzen des Gerätsso gut wie keine FehlfängeAnwendung: Den Wühlmausselbstschuss wie auf der Abbildung mit der mitgelieferten Schelle mittels Schraubendreher am Selbstschusshalter befestigen.Das Gerät gemäß Gebrauchsanweisung teilspannen und laden. Dann den Selbstschusshalter quer zum Wühlmausgang senkrecht von oben in die Erde stecken. Das Gerät fertig spannen. Der Auslösering soll nun bis zur Hälfte in den Wühlmausgang ragen. Höhe korrigieren, indem Sie den Selbstschusshalter mehr oder weniger tief in die Erde stecken. Zum Schluß das Gerät entsichern, es ist nun scharf und fangbereit. Entladen oder entnehmen gemäß Gebrauchsanweisung.