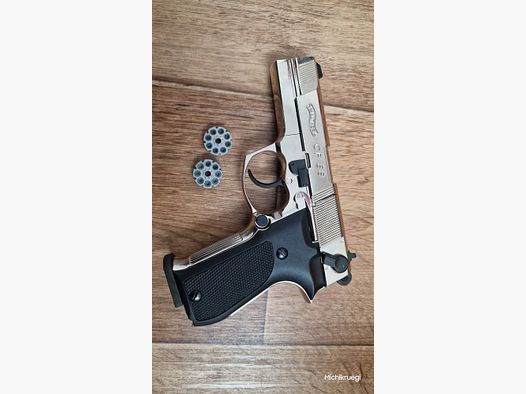
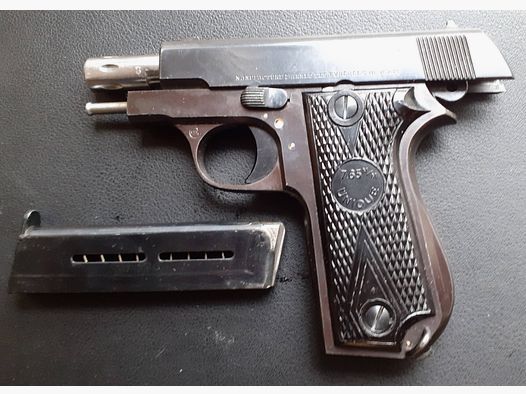
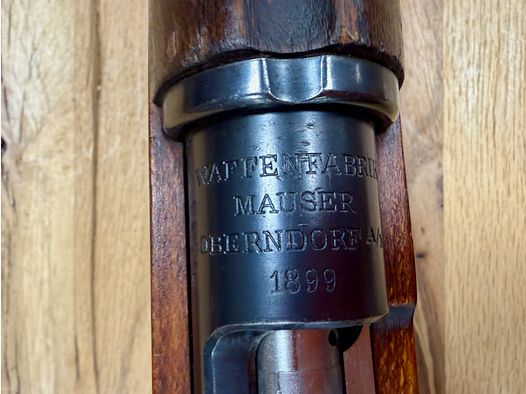
Note:
The item location is abroad. Please note that this may affect delivery conditions, shipping times, and/or the purchasing process.
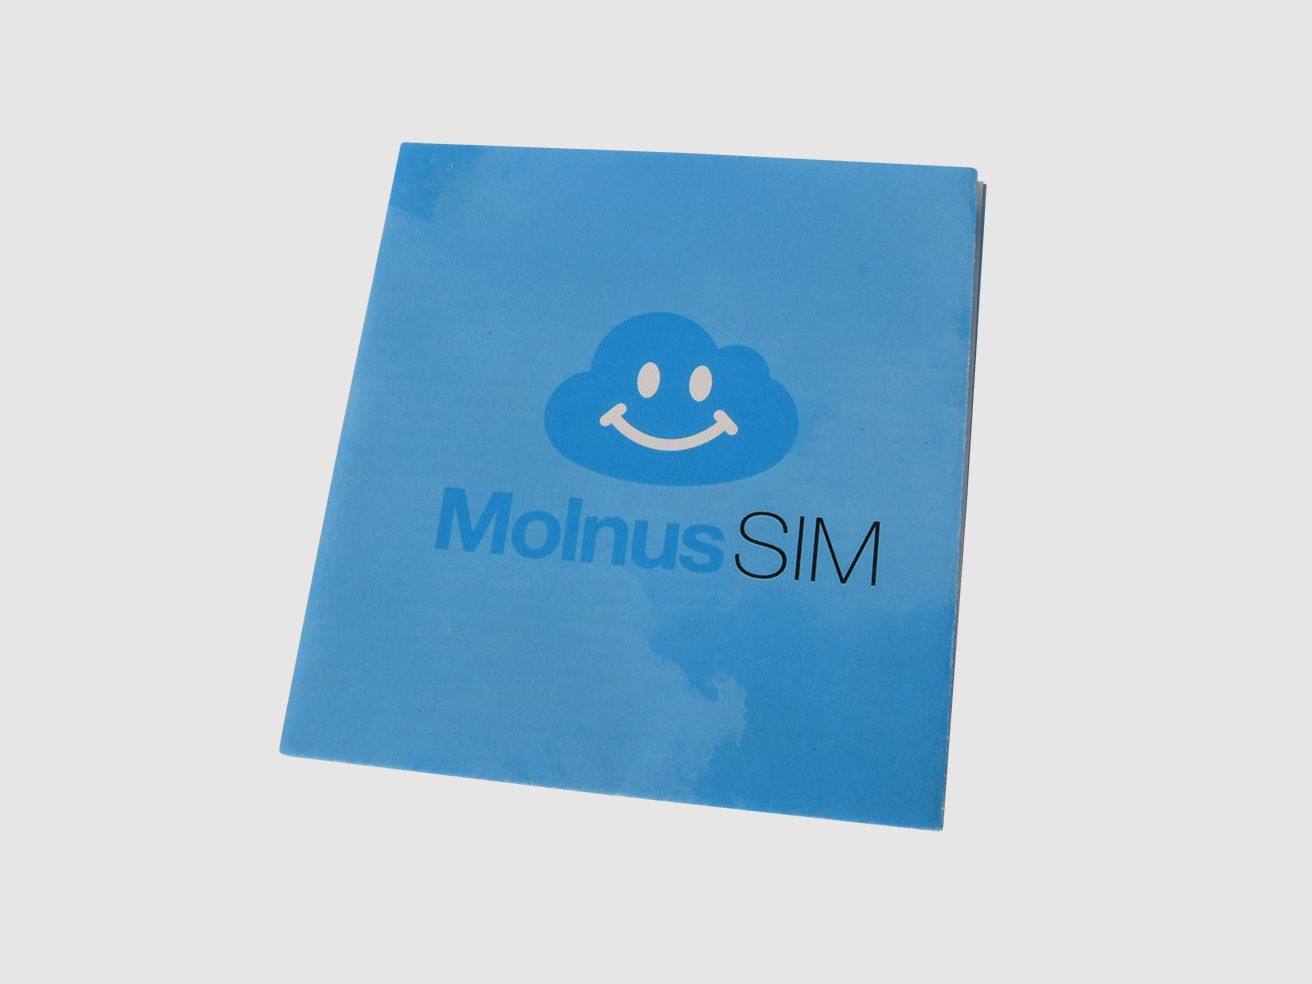
Start with your camera and your MolnusSIM.New camera with included MolnusSIMIf you do not have a Molnus account yet, you can easily create one by downloading the Molnus app and selecting create account.
Insert your MolnusSIM and 8 new alkaline AA batteries into the camera. Also, make sure that the antenna is mounted on the camera.
Turn on the camera by setting the power switch to the middle position. Wait for the camera to connect to a mobile network provider and for a provider name to appear on the camera display. If no name appears within about 40 seconds, try restarting the camera.
Take the camera remote, point it at the camera, and press the menu button. Scroll down until "Set up camera registration" is displayed by pressing the down button (the number 2 is also on the down button). When "Set up camera registration" appears on the display, press the OK button on the remote. A QR code should then appear on the camera display.
Launch the Molnus app on your phone and click on the bottom right of the screen where it says Add.
Click on Scan QR Code. A question may appear asking if you allow the app to access your phone's camera. In this case, select allow/yes.
Your phone's camera should now start. Point the phone camera at the QR code on the camera display and hold the phone so that the QR code is in the brighter field of the phone camera. If your phone camera successfully reads the QR code, all data about the camera and MolnusSIM will be automatically retrieved and filled in the Molnus app.
Click on the Register button in the Molnus app.
The camera and SIM card are now registered to your Molnus account, and everything is ready to use.
New MolnusSIM for older camera that is already on Molnus
Start your Molnus app. Click on the three stripes in the top right and select MolnusSIM.
Click on + Add SIM card in the bottom left.
Click on Scan QR Code. You may be asked if the Molnus app can access your phone's camera. Then select allow/yes. Your phone's camera should now start.
Point the phone camera at the QR code located on the MolnusSIM folder and hold the phone so that the QR code is in the brighter field of the phone camera. If your phone camera successfully reads the QR code, all data about your MolnusSIM will be automatically retrieved and filled in the Molnus app.
Click on Add SIM card.
Your MolnusSIM card is now activated and ready for use in your camera.
New MolnusSIM for older/other camera that does not use/support Molnus
Download the Molnus app and create an account.
Start your Molnus app. Click on the three stripes in the top right and select MolnusSIM.
Click on + Add SIM card in the bottom left.
Click on Scan QR Code. You may be asked if the Molnus app can access your phone's camera. Then select allow/yes. Your phone's camera should now start.
Point the phone camera at the QR code located on the MolnusSIM folder and hold the phone so that the QR code is in the brighter field of the phone camera. If your phone camera successfully reads the QR code, all data about your MolnusSIM will be automatically retrieved and filled in the Molnus app.
Click on Add SIM card.
Your MolnusSIM card is now activated and ready for use in your camera.
(Show description in original language)
Legen Sie los mit Ihrer Kamera und Ihrem MolnusSIM.Neue Kamera mit beiliegendem MolnusSIMWenn Sie noch kein Molnus-Konto haben, können Sie dieses einfach erstellen, indem Sie die App Molnus herunterladen und Konto erstellen auswählen.
Legen Sie Ihr MolnusSIM und 8 neue Alkaline AA-Batterien in die Kamera ein. Stellen Sie auch sicher, dass die Antenne an der Kamera montiert ist.
Starten Sie die Kamera, indem Sie den Netzschalter in die Mittelstellung setzen. Warten Sie, bis die Kamera Kontakt mit einem Mobilfunkanbieter aufnimmt und ein Anbieternamen auf dem Display der Kamera angezeigt wird. Wenn innerhalb von ca. 40 Sekunden kein Name erscheint, versuchen Sie, die Kamera neu zu starten.
Nehmen Sie die Fernbedienung der Kamera, richten Sie diese auf die Kamera und drücken Sie die Menü-Taste. Blättern Sie weiter, bis ”Einstellung Kamera registrieren” angezeigt wird, indem Sie die Abwärts-Taste drücken (die Zahl 2 steht auch auf der Abwärts-Taste). Wenn ”Einstellung Kamera registrieren” auf dem Display erscheint, drücken Sie die OK-Taste auf der Fernbedienung. Ein QR-Code sollte dann auf dem Display der Kamera erscheinen.
Starten Sie die Molnus-App auf Ihrem Handy und klicken Sie unten rechts auf dem Bildschirm, wo Hinzufügen steht.
Klicken Sie auf QR-Code scannen. Es kann eine Frage erscheinen, ob Sie der App erlauben, auf die Kamera Ihres Handys zuzugreifen. Wählen Sie in diesem Fall erlauben/ja.
Die Kamera Ihres Handys sollte nun starten. Richten Sie die Handykamera auf den QR-Code auf dem Display der Kamera und halten Sie das Handy so, dass der QR-Code im helleren Feld der Handykamera liegt. Wenn Ihre Handykamera den QR-Code erfolgreich liest, werden alle Daten über die Kamera und MolnusSIM automatisch in der Molnus-App abgerufen und ausgefüllt.
Klicken Sie auf die Registrieren-Taste in der Molnus-App.
Kamera und SIM-Karte sind nun auf Ihrem Molnus-Konto registriert, und alles ist gebrauchsfertig.
Neues MolnusSIM für ältere Kamera, die bereits auf Molnus ist
Starten Sie Ihre Molnus-App. Klicken Sie auf die drei Streifen oben rechts und wählen Sie MolnusSIM.
Klicken Sie auf + SIM-Karte hinzufügen unten links.
Klicken Sie auf QR-Code scannen. Möglicherweise werden Sie gefragt, ob die Molnus-App Zugriff auf die Kamera Ihres Handys haben darf. Wählen Sie dann erlauben/ja. Die Kamera Ihres Handys sollte nun starten.
Richten Sie die Handykamera auf den QR-Code, der sich auf dem MolnusSIM-Ordner befindet, und halten Sie das Handy so, dass der QR-Code im helleren Feld der Handykamera liegt.Wenn Ihre Handykamera den QR-Code erfolgreich liest, werden alle Daten über Ihr MolnusSIM automatisch in der Molnus-App abgerufen und ausgefüllt.
Klicken Sie auf SIM-Karte hinzufügen.
Ihre MolnusSIM-Karte ist nun aktiviert und bereit zur Verwendung in Ihrer Kamera.
Neues MolnusSIM für ältere/andere Kamera, die Molnus nicht verwendet/unterstützt
Laden Sie die Molnus-App herunter und erstellen Sie ein Konto.
Starten Sie Ihre Molnus-App. Klicken Sie auf die drei Streifen oben rechts und wählen Sie MolnusSIM.
Klicken Sie auf + SIM-Karte hinzufügen unten links.
Klicken Sie auf QR-Code scannen. Möglicherweise werden Sie gefragt, ob die Molnus-App Zugriff auf die Kamera Ihres Handys haben darf. Wählen Sie dann erlauben/ja. Die Kamera Ihres Handys sollte nun starten.
Richten Sie die Handykamera auf den QR-Code, der sich auf dem MolnusSIM-Ordner befindet, und halten Sie das Handy so, dass der QR-Code im helleren Feld der Handykamera liegt. Wenn Ihre Handykamera den QR-Code erfolgreich liest, werden alle Daten über Ihr MolnusSIM automatisch in der Molnus-App abgerufen und ausgefüllt.
Klicken Sie auf SIM-Karte hinzufügen.
Ihre MolnusSIM-Karte ist nun aktiviert und bereit zur Verwendung in Ihrer Kamera.