Note:
The item location is abroad. Please note that this may affect delivery conditions, shipping times, and/or the purchasing process.
AUTONOMOUS, NEVER-ENDING POWER SUPPLY
integrated lithium-ion battery with 6,800mAh
significantly extends the lifespan of camera batteries
saves the environment and your wallet
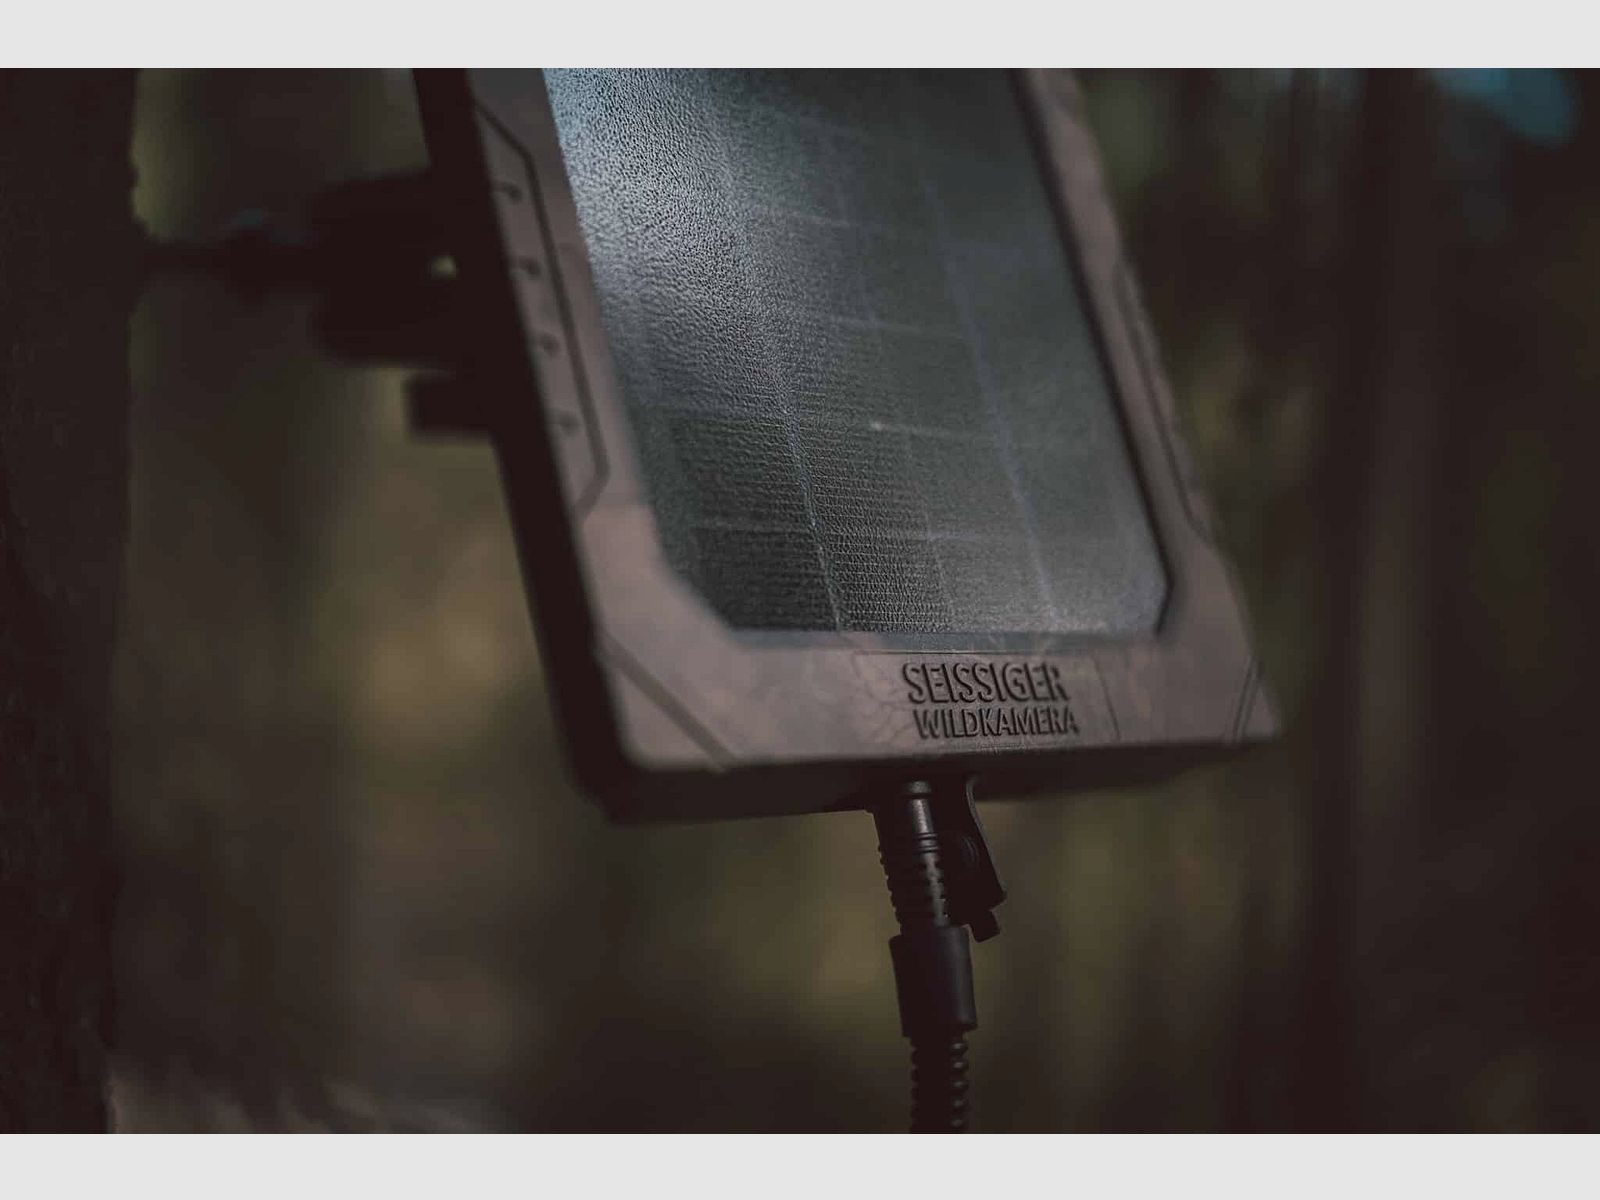
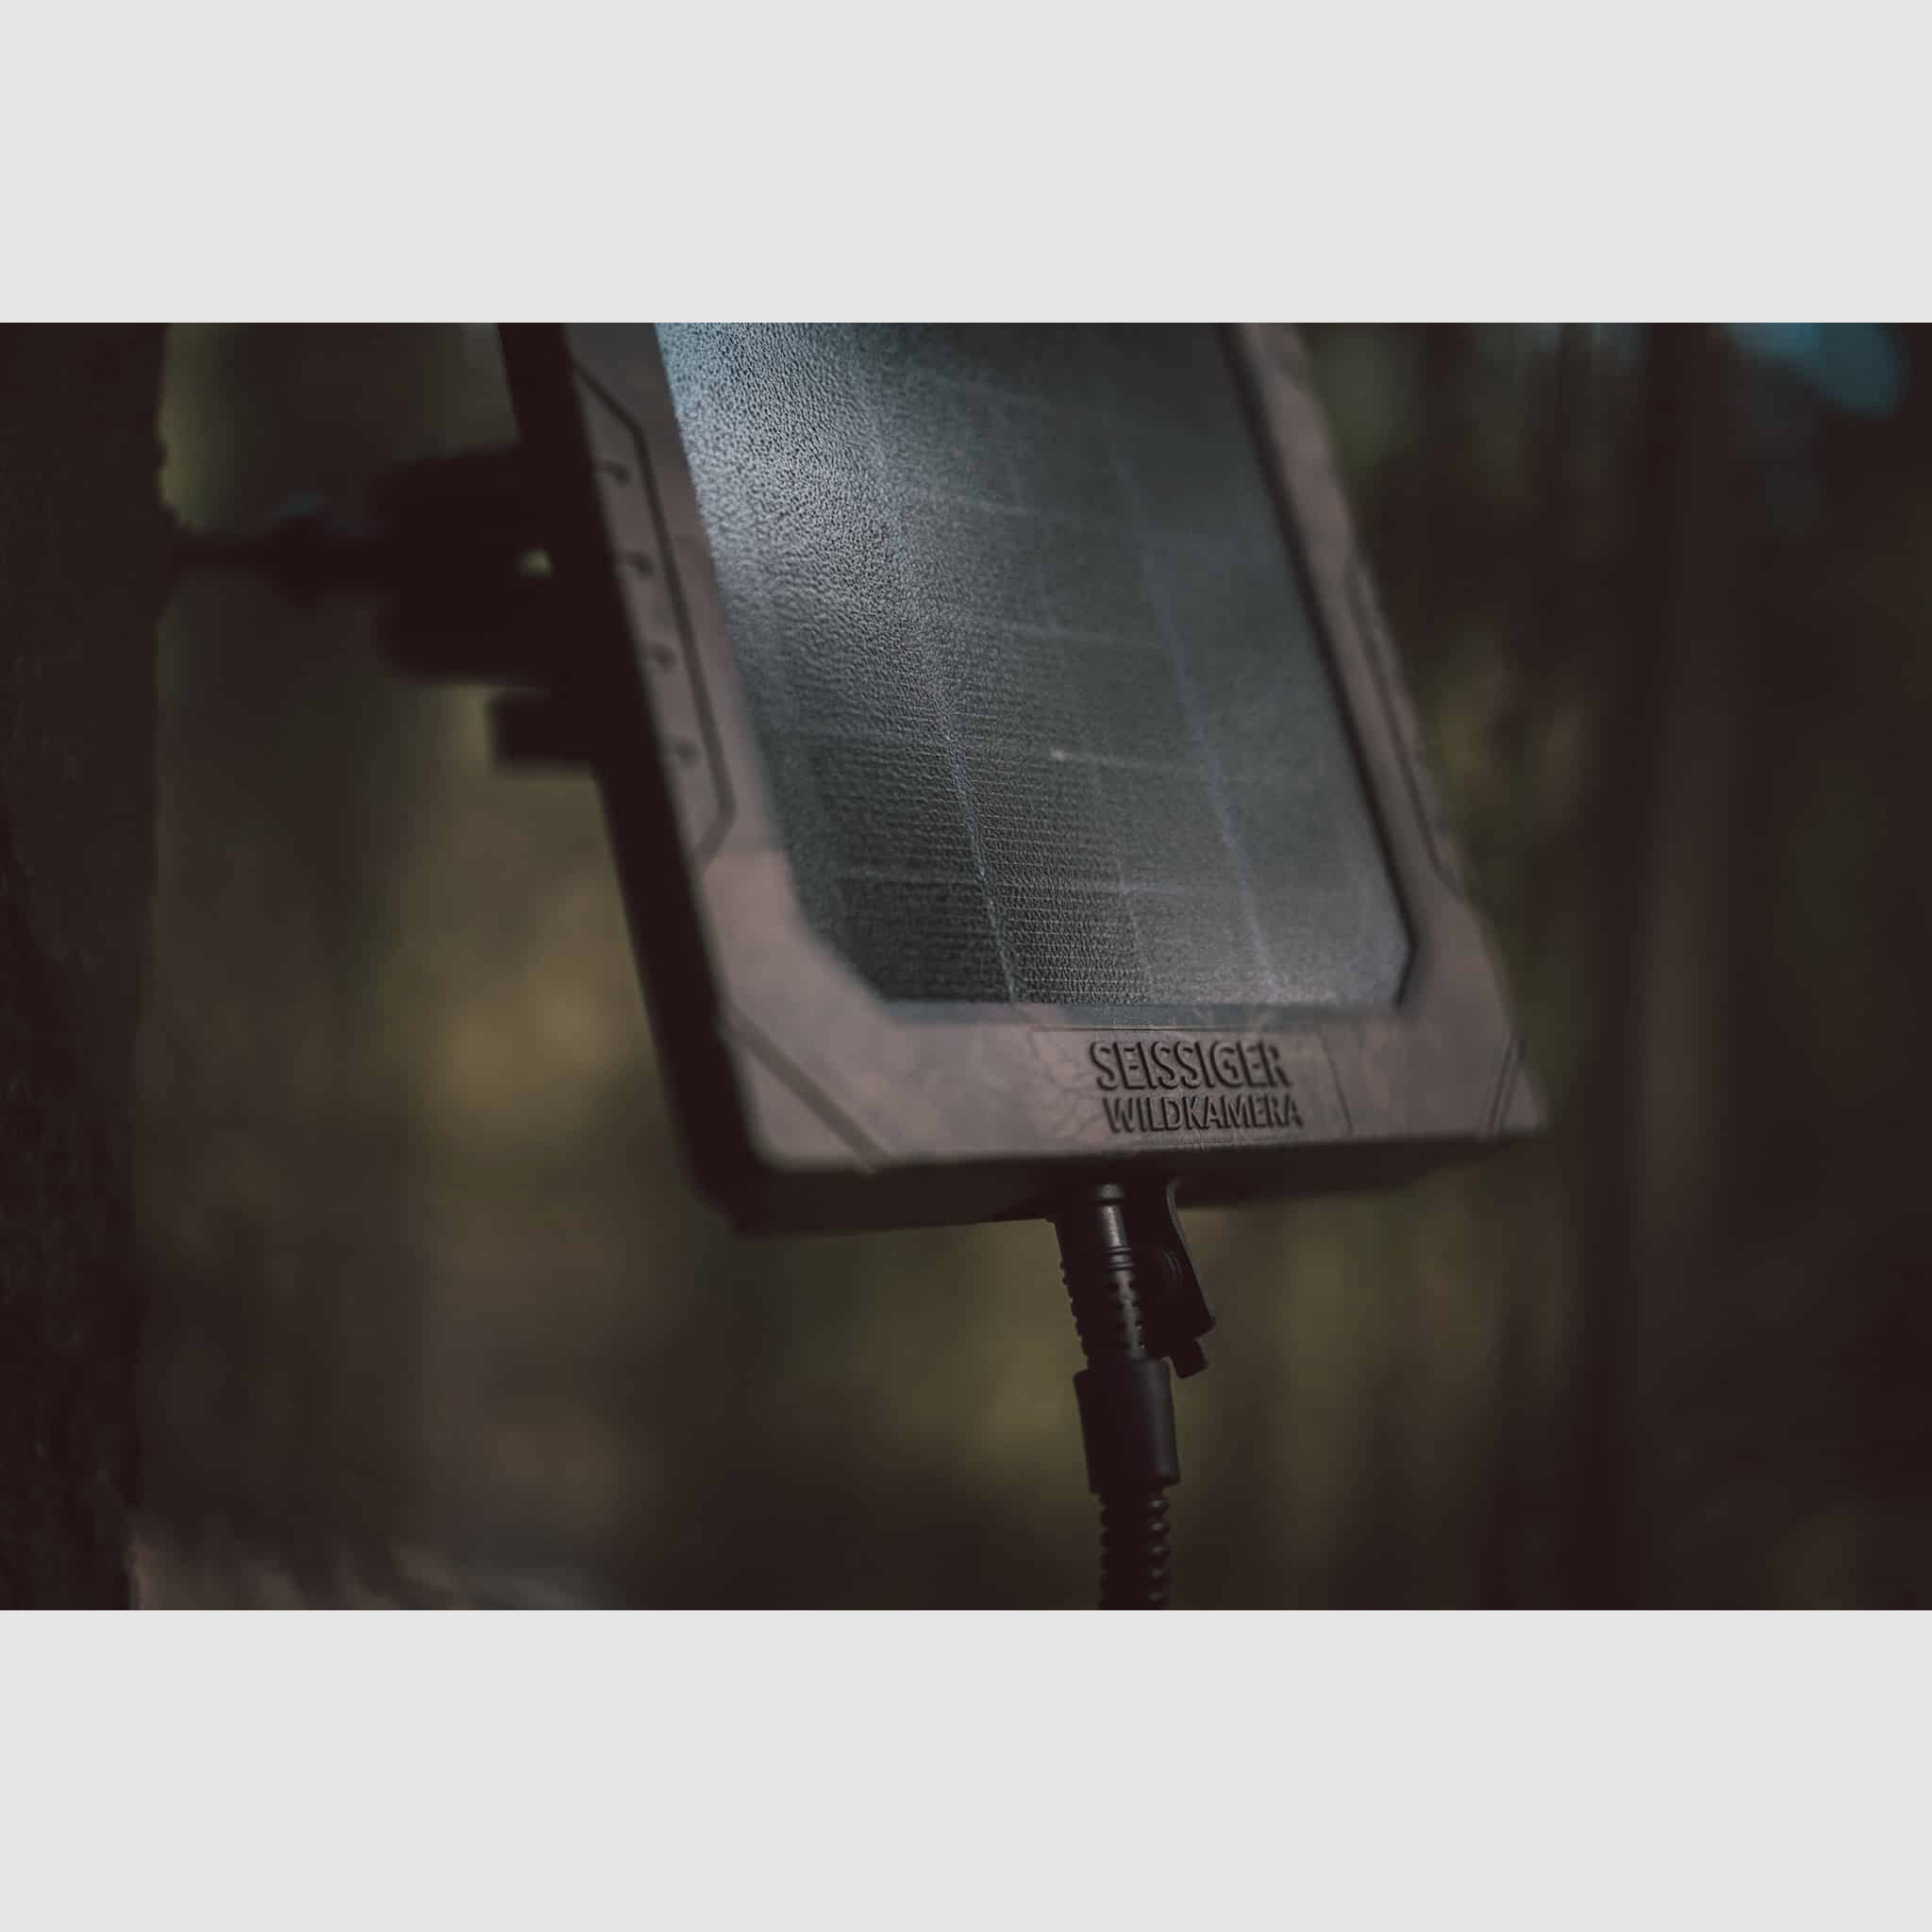
compatible with all 6V and 12V wildlife cameras that have a 4.0 x 1.7 mm barrel connector
can be charged via USB-C
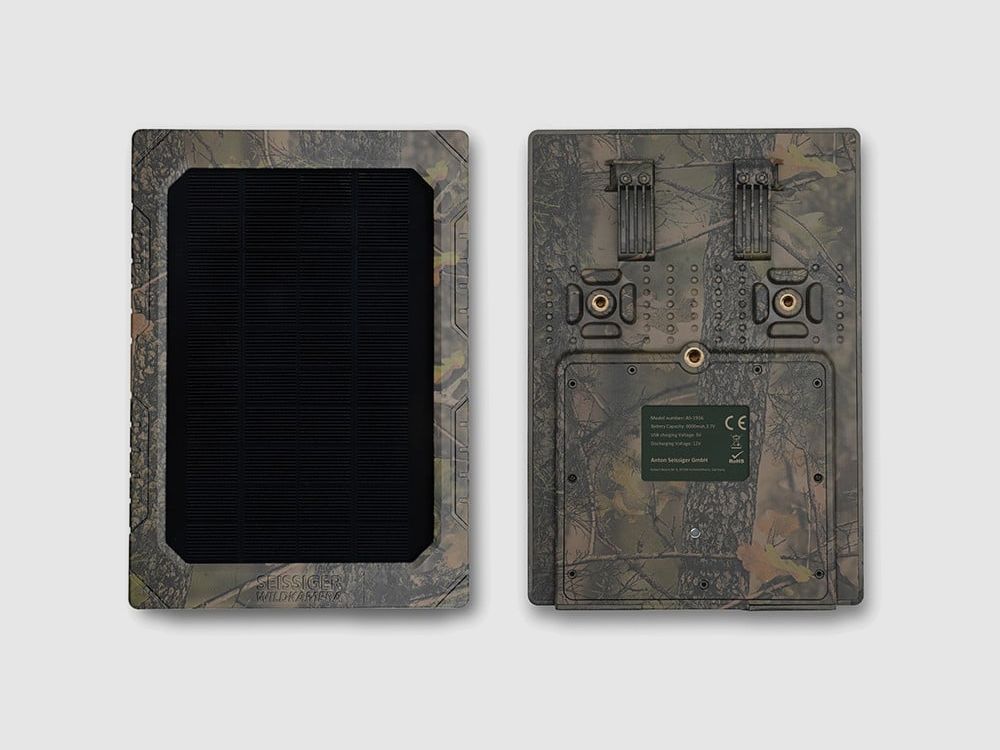
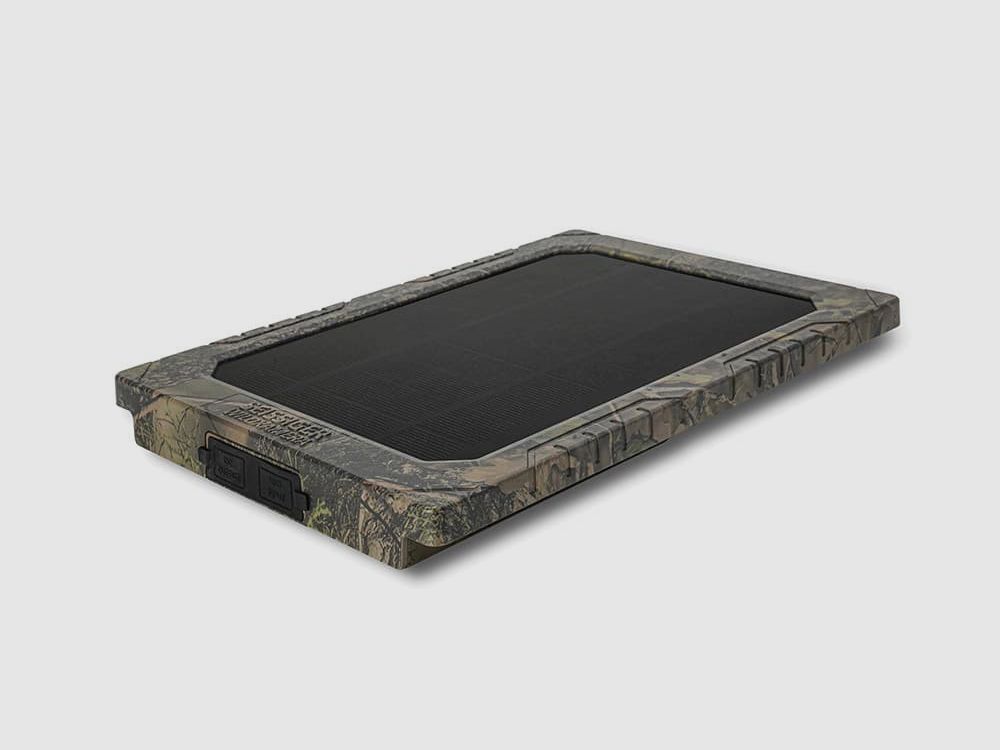
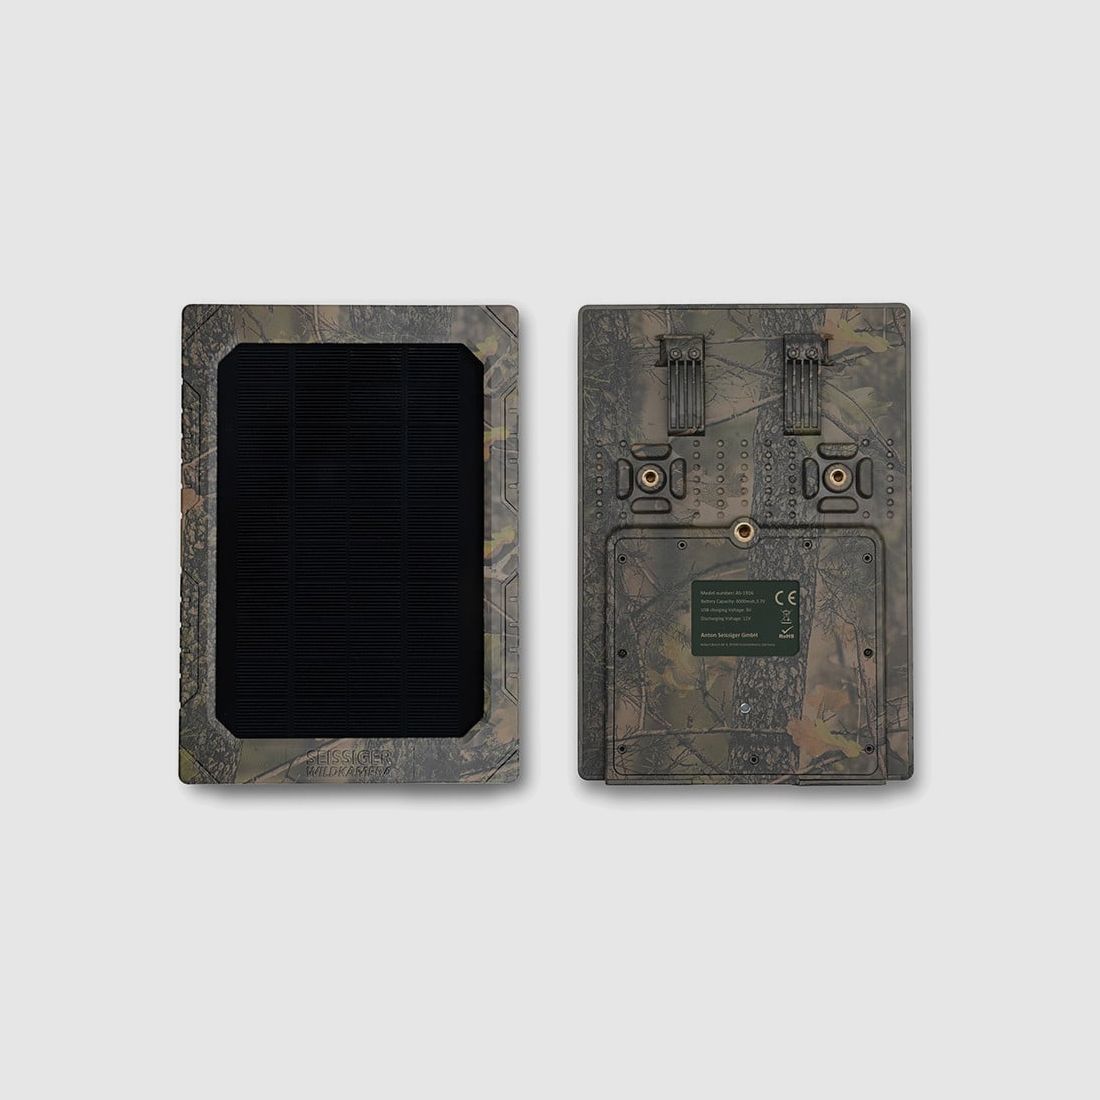
robust, weatherproof camouflage housing, protection class IP67
Solar power first charges the built-in battery and then any connected battery packs
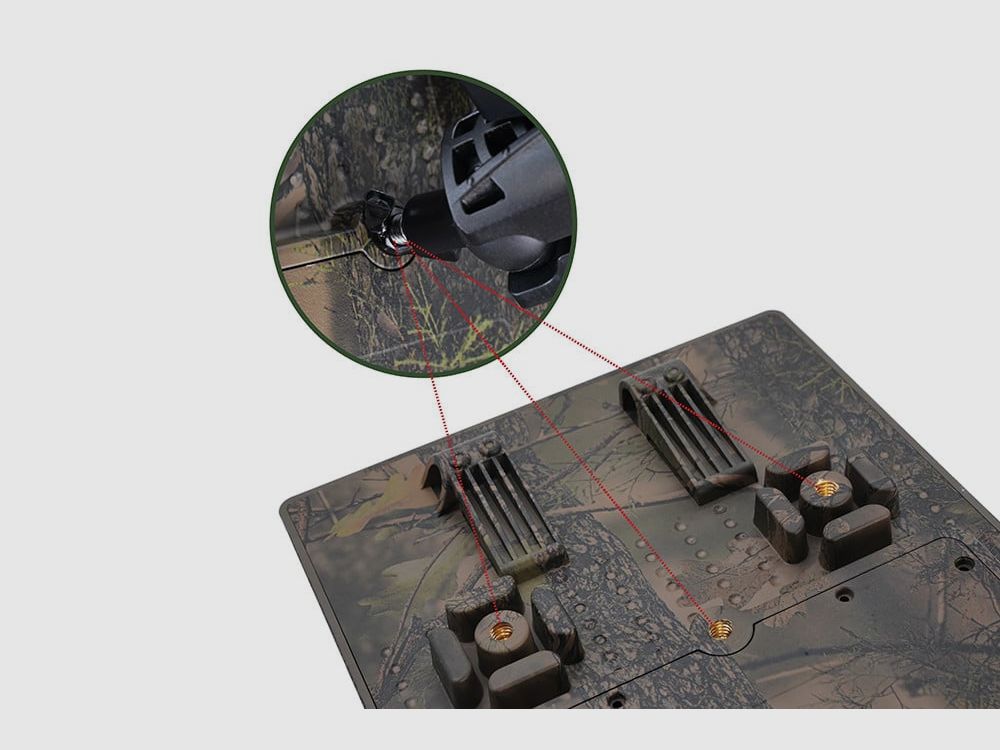
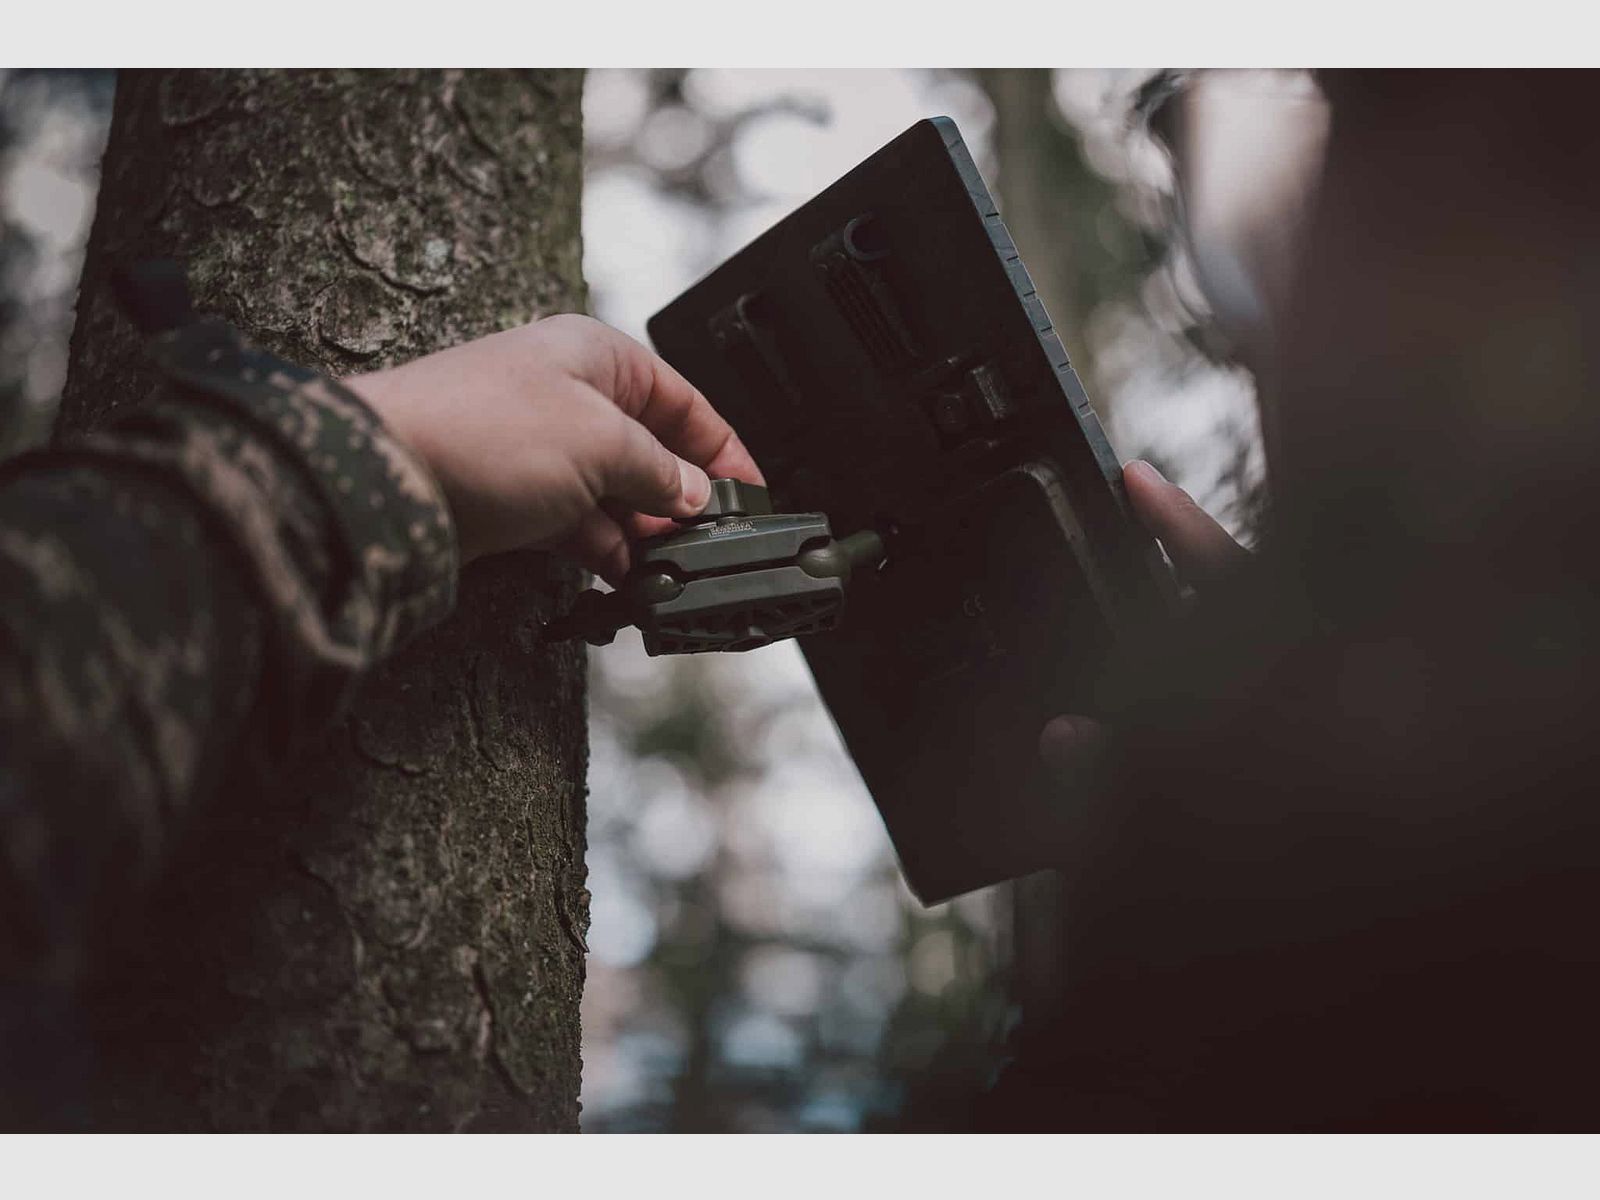
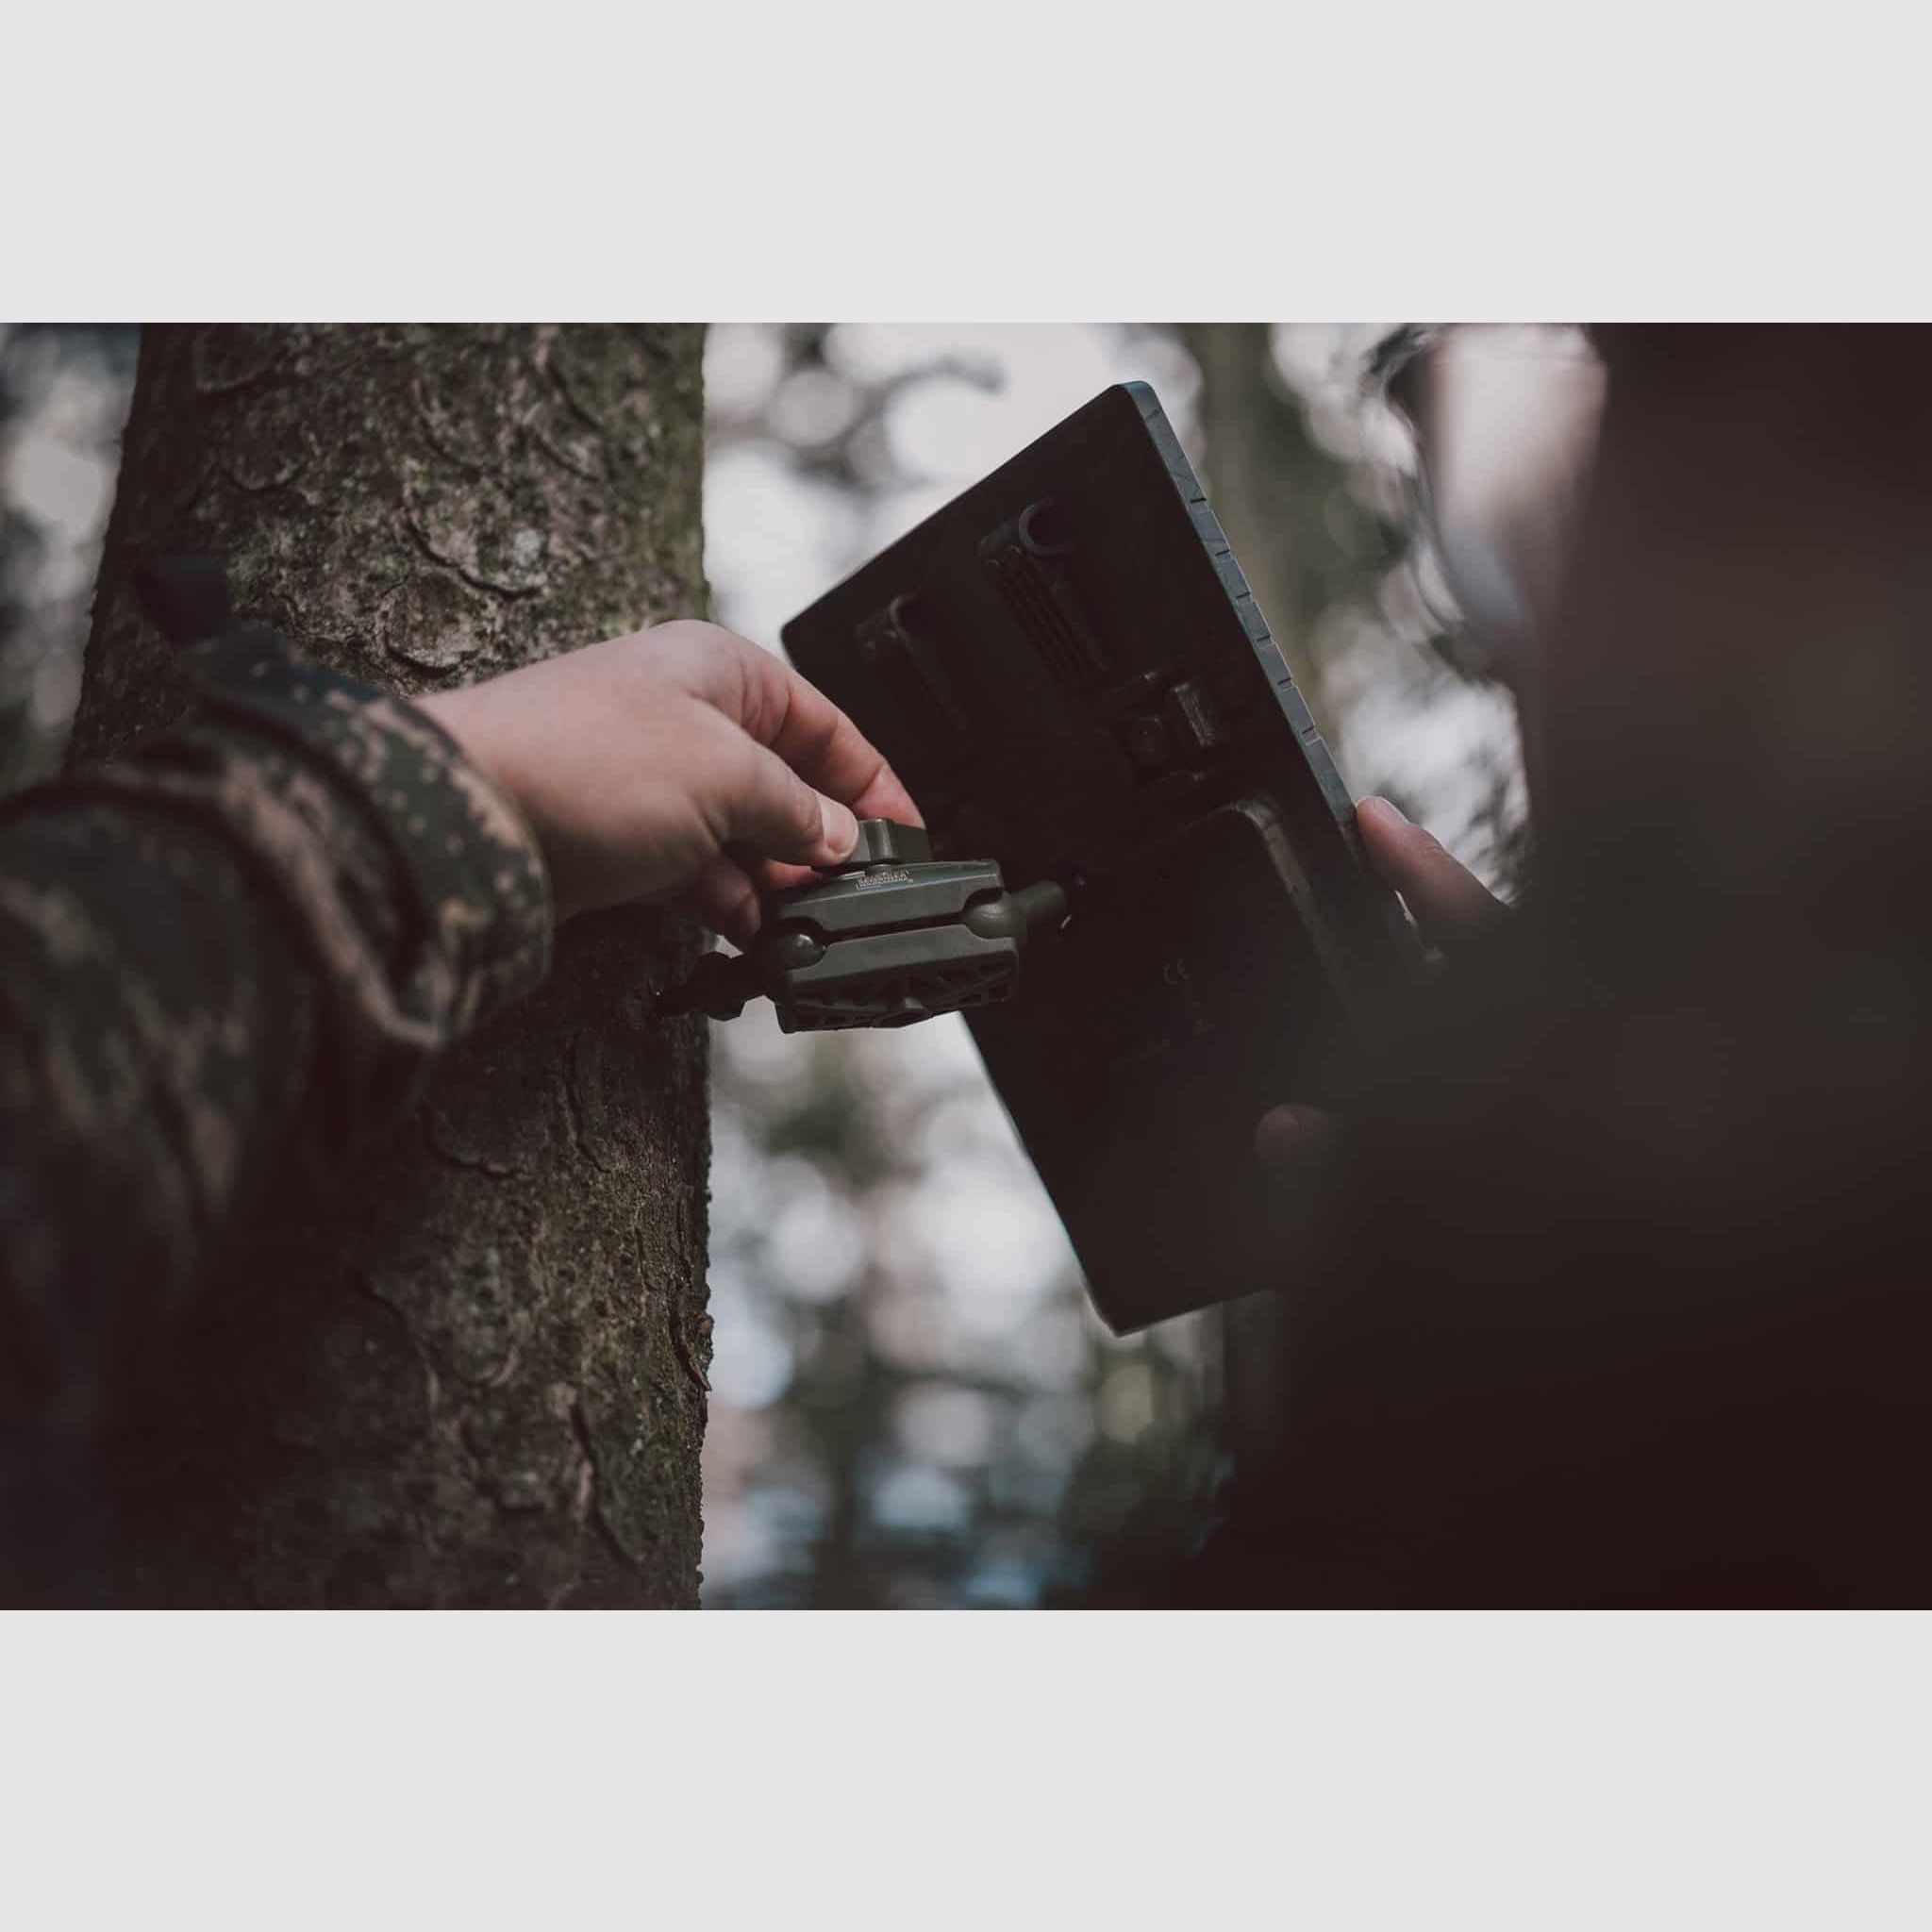
easy installation thanks to the included mount
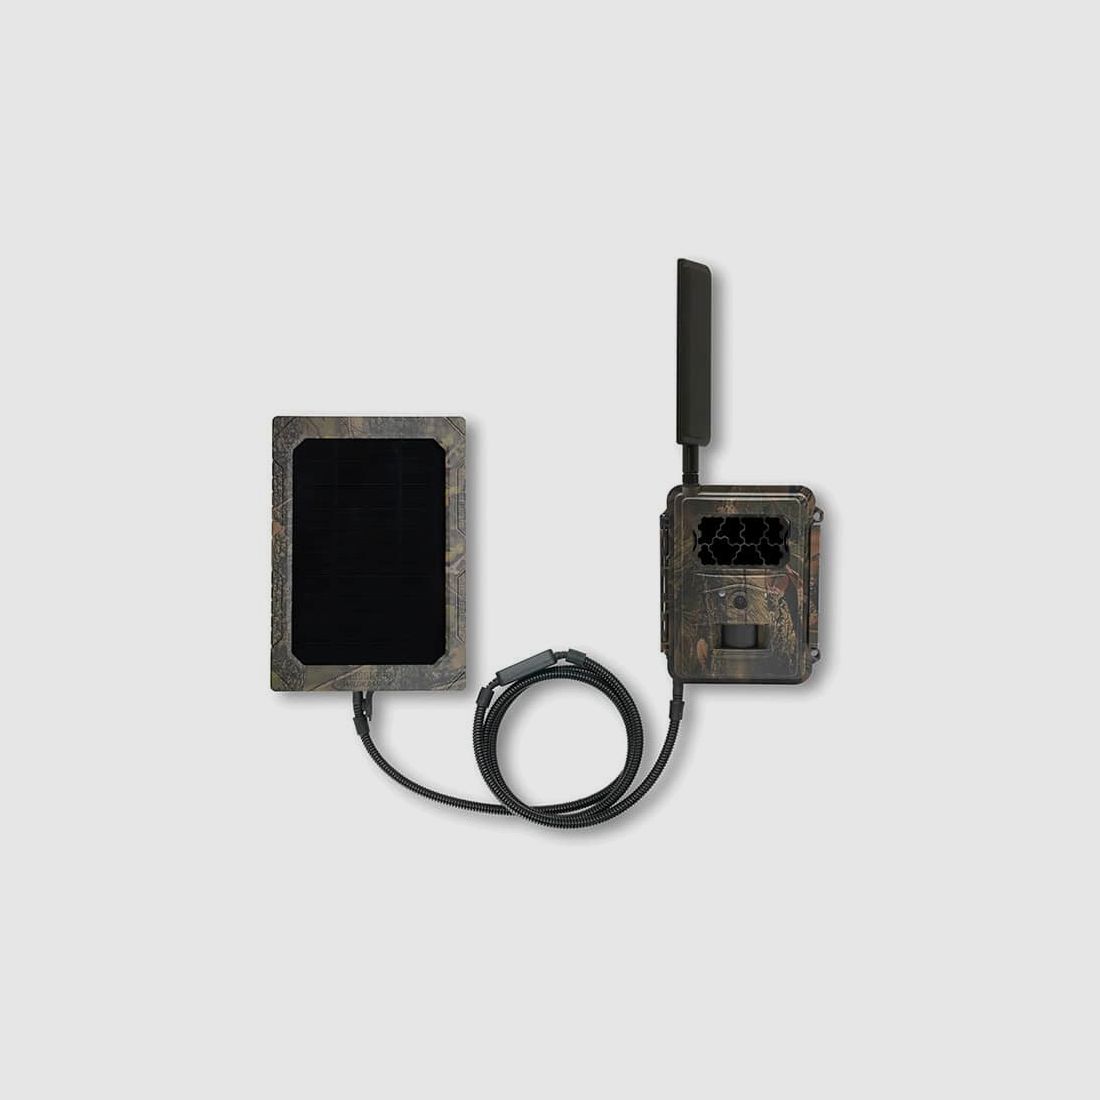
ABOUT THE SOLAR PANEL The SEISSIGER solar panel is an additional power source for wildlife cameras.
The solar panel features a built-in lithium-ion battery that is continuously charged by the solar cells when exposed to sunlight. After connecting, the camera is powered as long as possible by the charged lithium battery of the solar panel and only switches to the internal batteries when the charge level of the solar panel's battery is temporarily too low. This significantly extends the lifespan of the camera batteries.
Before the first use of the solar panel, we recommend fully charging the built-in battery once at the outlet with a USB-C charging cable (takes up to 12 hours).
The solar panel can be used with 12V and 6V wildlife cameras.
You will receive two DC output cables, a 12V cable (left) and a 6V cable with voltage converter (right). SEISSIGER cameras use the lower voltage of 6V; many other wildlife cameras operate at 12V and use the left DC cable. The cable length is 150cm.
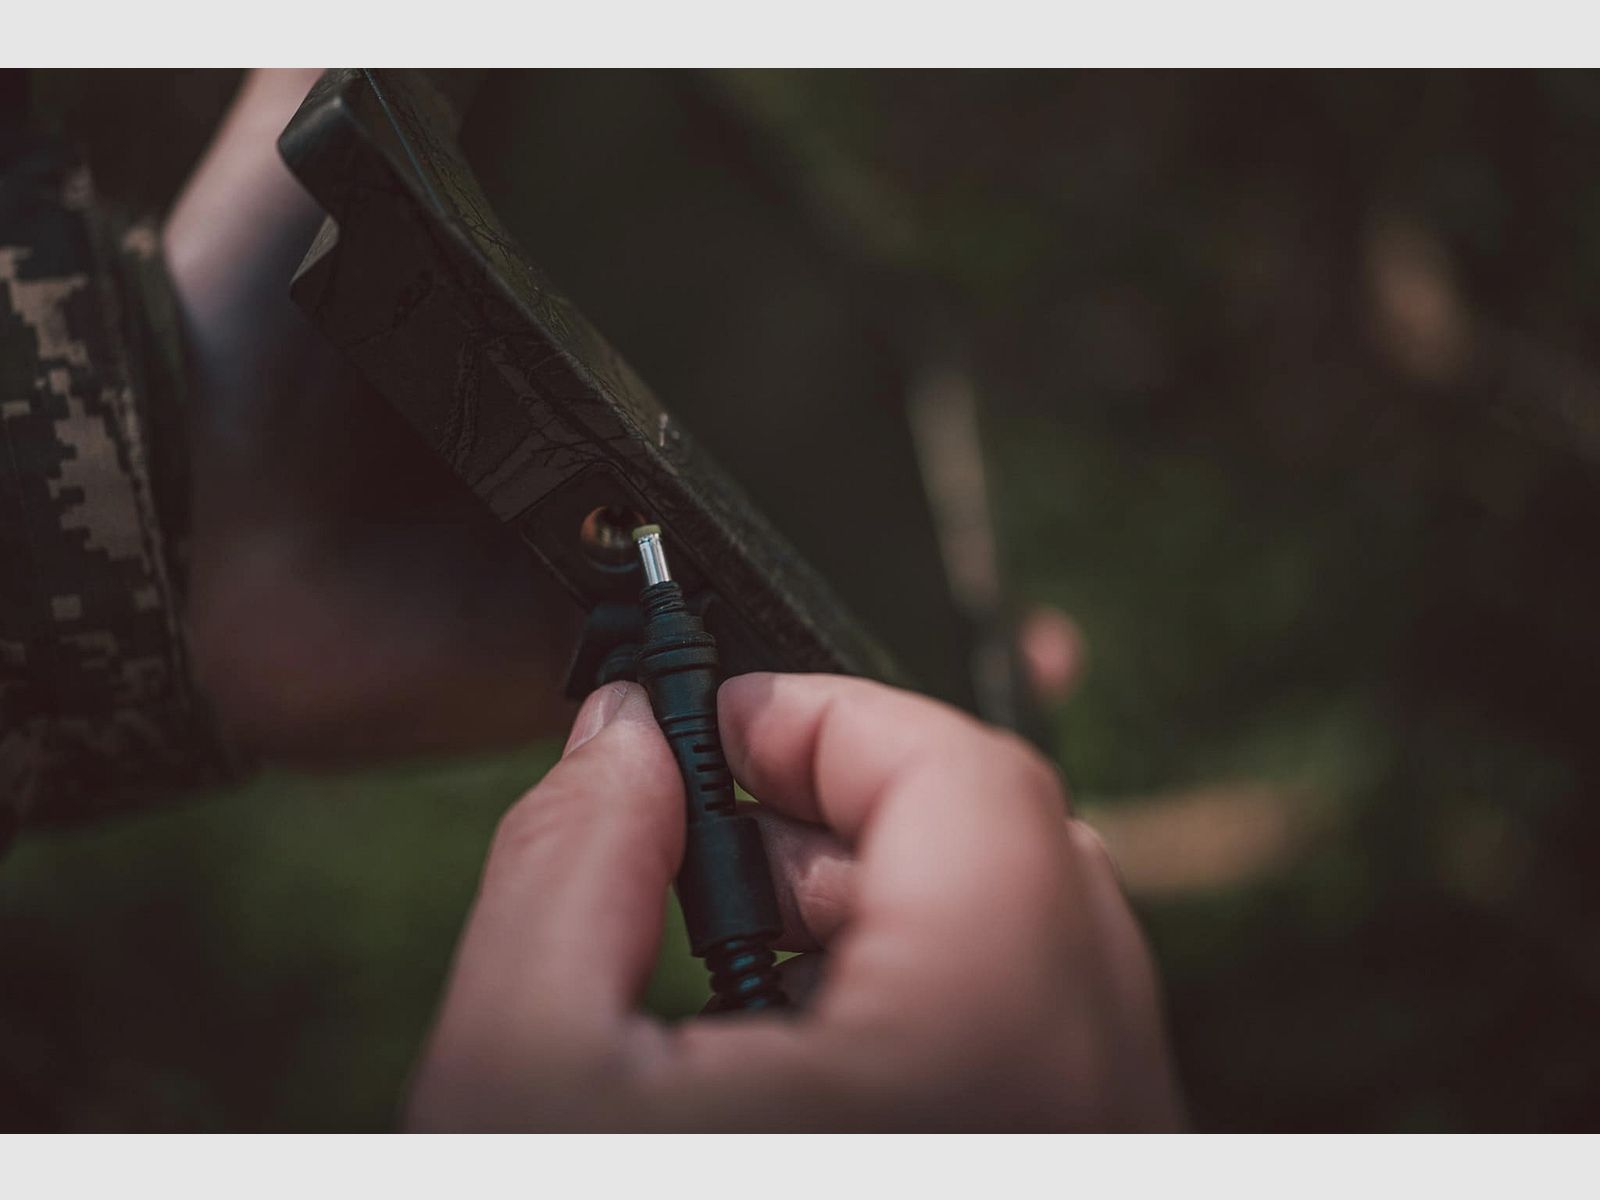
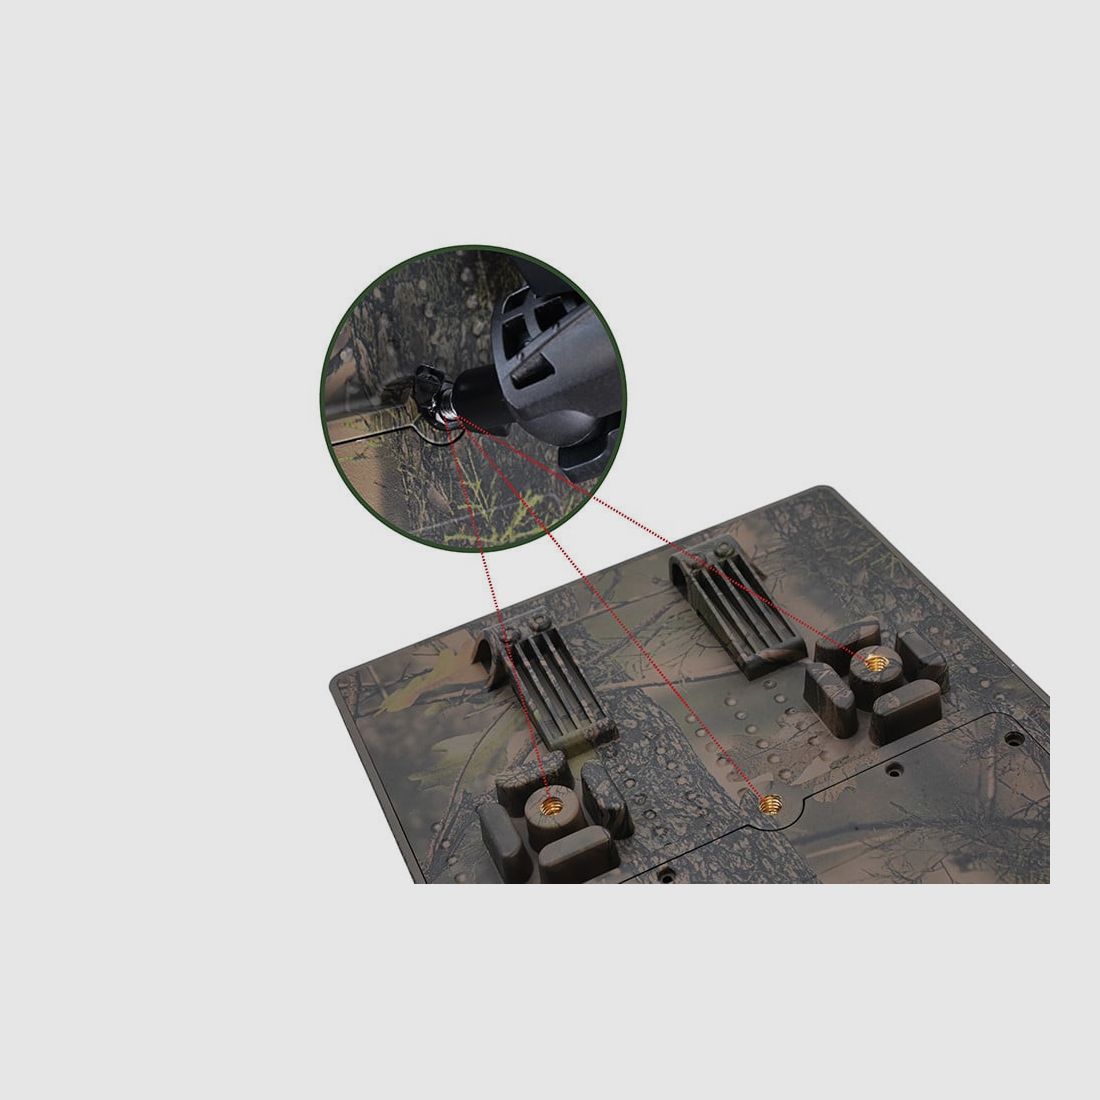
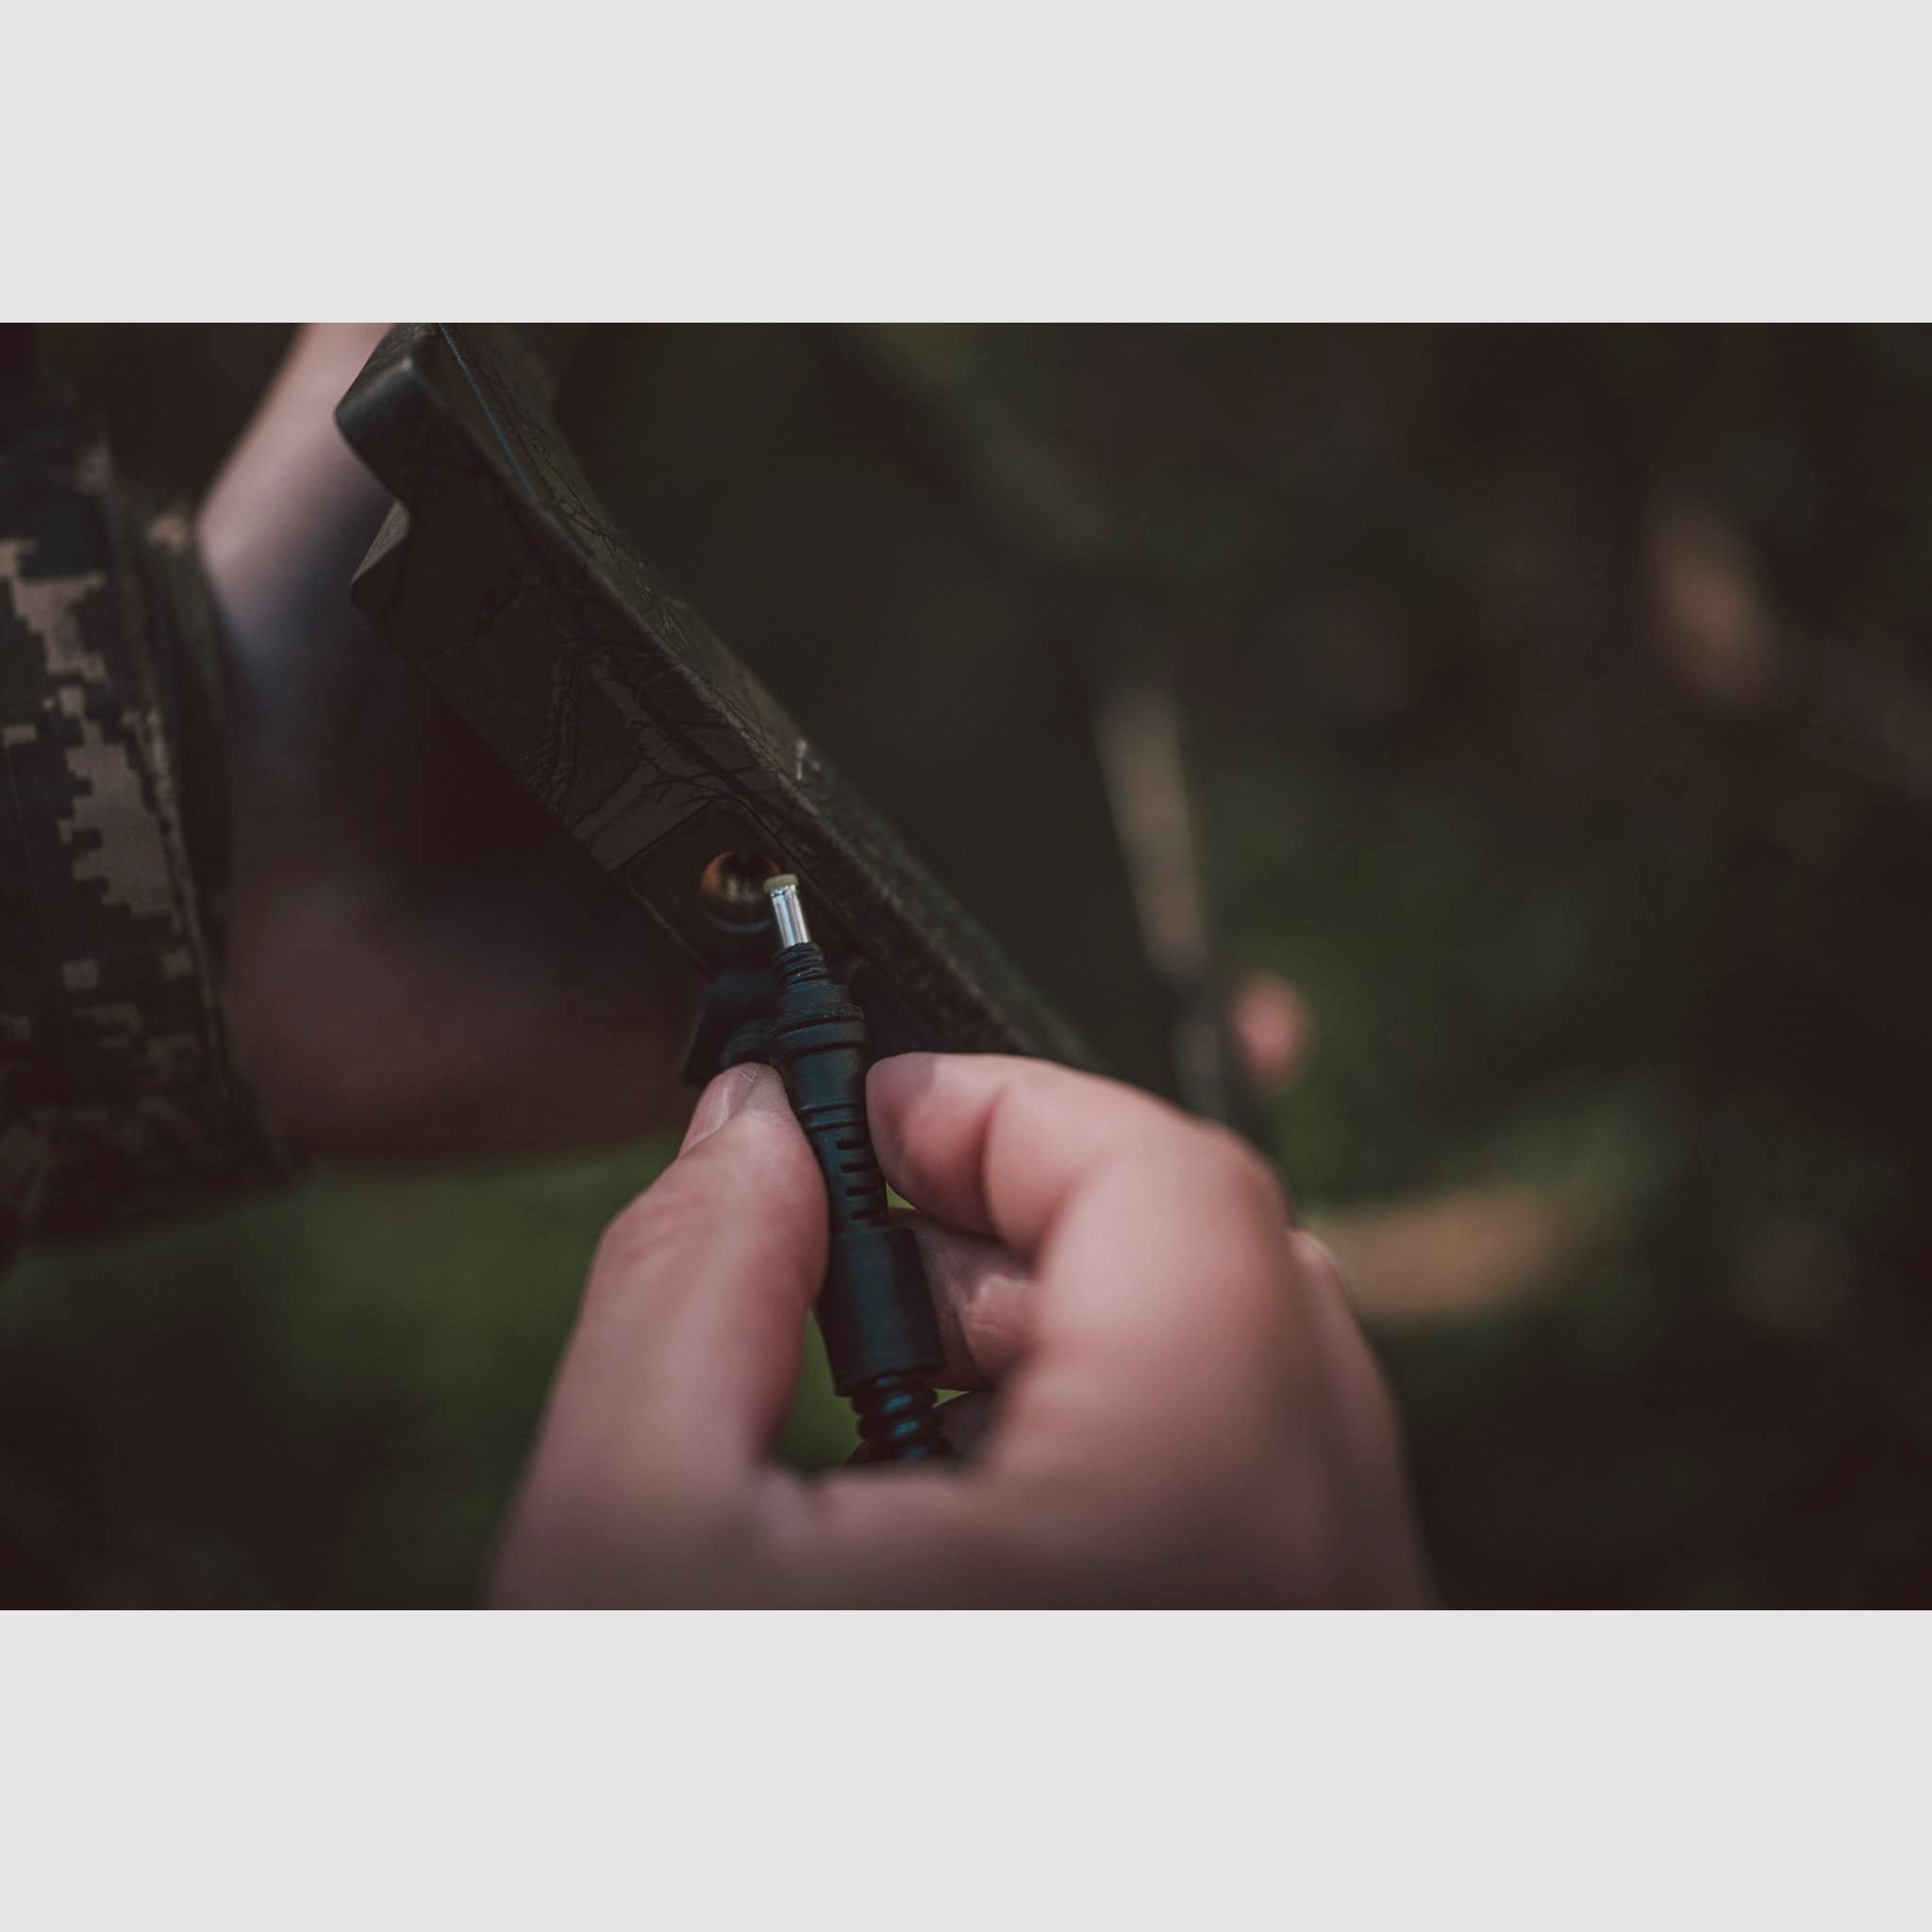
To connect the solar panel to the camera, select the appropriate cable. On one side of the cable, there is a thread below the connector. This side belongs in the solar panel. Open the left rubber cover and carefully screw the connector into the internal thread of the solar panel. Please ensure that you do not screw the cable in too tightly, as you may damage the thread on the cable.
Finally, connect the camera socket of the solar panel to the input socket for external power supply of your camera (see the user manual of your camera model).
Technical specifications:
Power requirement: 5V min 500mA
USB charging voltage: 5V-9V
Discharge voltage: 12V
Max. discharge current: 2A
Max. charging voltage protection: 6V
Recommended charging time: 12 hours for full charge
Charging priority: If both USB and solar charging sources are available, USB charging has a higher priority.
Operating temperature: -20 to 40°C (Storage temperature: -30 to 70°C)
Operating humidity: 5% – 90%
Scope of delivery:
SEISSIGER solar panel, ball head mount including dowels, connection cable for 12V wildlife cameras, connection cable for 6V wildlife cameras, USB power supply with USB Type-C cable
Dimensions: 16 x 23 x 2.5cm
Cable length: 150cm
Weight: 650g
(Show description in original language)
AUTONOME, NIEMALS ENDENDE STROMVERSORGUNG
integrierter Lithium-Ionen-Akku mit 6.800mah
verlängert die Lebensdauer der Kamera-Batterien erheblich
schont Umwelt und Geldbeutel
kompatibel mit allen 6V und 12V Wildkameras, die einen 4,0 x 1,7 mm Hohlstecker-Anschluss haben
kann per USB-C aufgeladen werden
robustes, wetterfestes Camouflage-Gehäuse, Schutzklasse IP67
Solarstrom lädt zunächst den eingebauten Akku und anschließend mögliche angeschlossene Batterie-Packs
einfache Montage dank beiliegender Halterung
ÜBER DAS SOLARPANELDas SEISSIGER Solarpanel ist eine zusätzliche Stromquelle für Wildkameras.
Das Solarpanel verfügt über einen eingebauten Lithium-Ionen-Akku, der von den Solarzellen kontinuierlich aufgeladen wird, wenn sie der Sonne ausgesetzt sind. Nach dem Anschließen wird die Kamera so lange wie möglich von der geladenen Lithiumbatterie des Solarpanels mit Strom versorgt und schaltet nur dann auf die internen Batterien um, wenn der Ladezustand des Akkus des Solarpanels vorübergehend zu niedrig ist. Dadurch haben die Batterien der Kamera eine deutlich längere Lebensdauer.
Vor der ersten Nutzung des Solarpanels empfehlen wir, den eingebauten Akku einmal an der Steckdose mit einem USB-C Ladekabel vollständig aufzuladen (dauert bis zu 12 Stunden).
Das Solarpanel kann mit 12V und 6V Wildkameras verwendet werden.
Sie erhalten zwei DC-Ausgangskabel, ein 12V-Kabel (links) und ein 6V-Kabel mit Spannungswandler (rechts). SEISSIGER-Kameras verwenden die niedrigere Spannung von 6V; viele andere Wildkameras arbeiten mit 12V und verwenden das linke DC-Kabel. Die Kabellänge beträgt 150cm.
Um das Solarpanel mit der Kamera zu verbinden, wählen Sie das passende Kabel aus. Auf einer Seite des Kabels befindet sich unterhalb des Steckers ein Gewinde. Diese Seite gehört in das Solar Panel. Öffnen Sie die linke Gummiabdeckung und schrauben Sie den Stecker vorsichtig in das Innengewinde des Solar Panels. Bitte achten Sie darauf, dass Sie das Kabel nicht zu fest einschrauben, da Sie sonst das Gewinde am Kabel beschädigen könnten.
Schließen Sie schließlich die Kamerabuchse des Solar Panels an die Eingangsbuchse für externe Stromversorgung Ihrer Kamera an (siehe Bedienungsanleitung Ihres Kameramodells).
Technische Spezifikationen:
Strombedarf: 5V min 500mAUSB Ladespannung: 5V-9VEntladespannung: 12VMax. Entladestrom: 2AMax. Ladespannungsschutz: 6VEmpfohlene Ladezeit: 12 Stunden zur vollständigen LadungLadepriorität: Wenn sowohl USB- als auch Solarladequellen verfügbar sind, hat das USB-Laden eine höhere Priorität.Betriebstemperatur: -20 bis 40°C(Lagertemperatur: -30 bis 70°C)Betriebsfeuchtigkeit: 5% – 90%
Lieferumfang:
SEISSIGER Solarpanel, Kugelkopf-Halterung inkl. Dübel, Verbindungskabel für 12V Wildkameras, Verbindungskabel für 6V Wildkameras, USB Netzteil mit USB Typ-C Kabel
Abmessungen: 16 x 23 x 2,5cm
Kabellänge: 150cm
Gewicht: 650g