Hunting Boot Care: Checklist Against Moisture
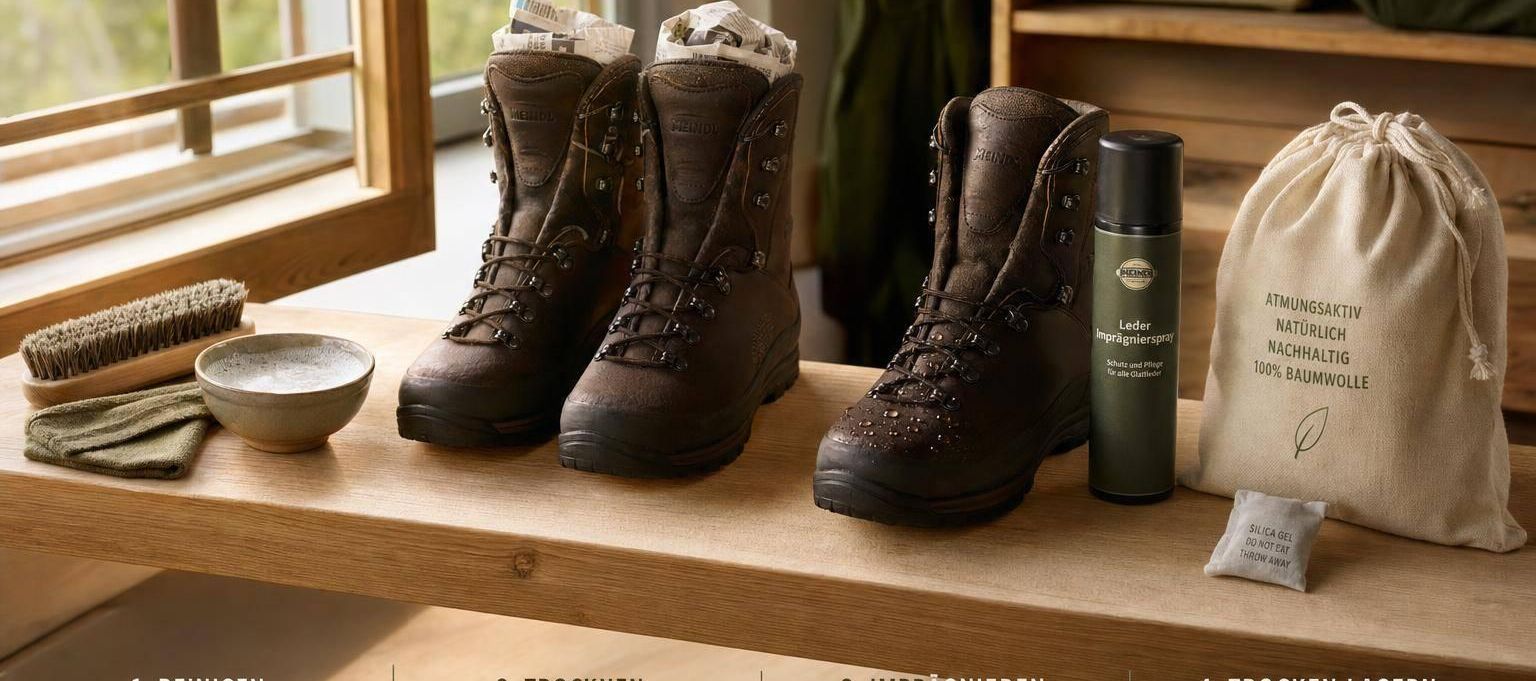
Wet hunting boots only stay waterproof longer if I always use the same 4-step routine: clean, dry slowly, impregnate according to the material, and only then store. Moisture often gets trapped exactly there: at the edge of the sole, on the tongue, in the seams, and in the lining.
In short:
- After each use, I clean the stock, tread, and interior.
- I dry slowly at room temperature, never on a heater, stove, or in direct sunlight.
- I use care products suitable for the material: membrane, smooth leather without membrane, or synthetic.
- I only store dry, otherwise odor, mold, and damage threaten.
One point is often overlooked: even small moist spots inside can stay wet longer than the surface. If the lining remains damp despite enough drying time or water enters through seams, this often indicates a defect rather than a care problem.
Quick comparison of care by material:
| Material | What I use | What I avoid |
|---|---|---|
| Membrane | water-based spray | heavy fats, oils, waxes |
| Smooth leather without membrane | approved wax or care product | non-approved oils |
| Synthetic | spray for synthetic | leather products |
My key point: First clean, then dry, then impregnate, then store. This reduces the risk of moisture in the boot, loosened glue joints, and musty odor before the next hunt.
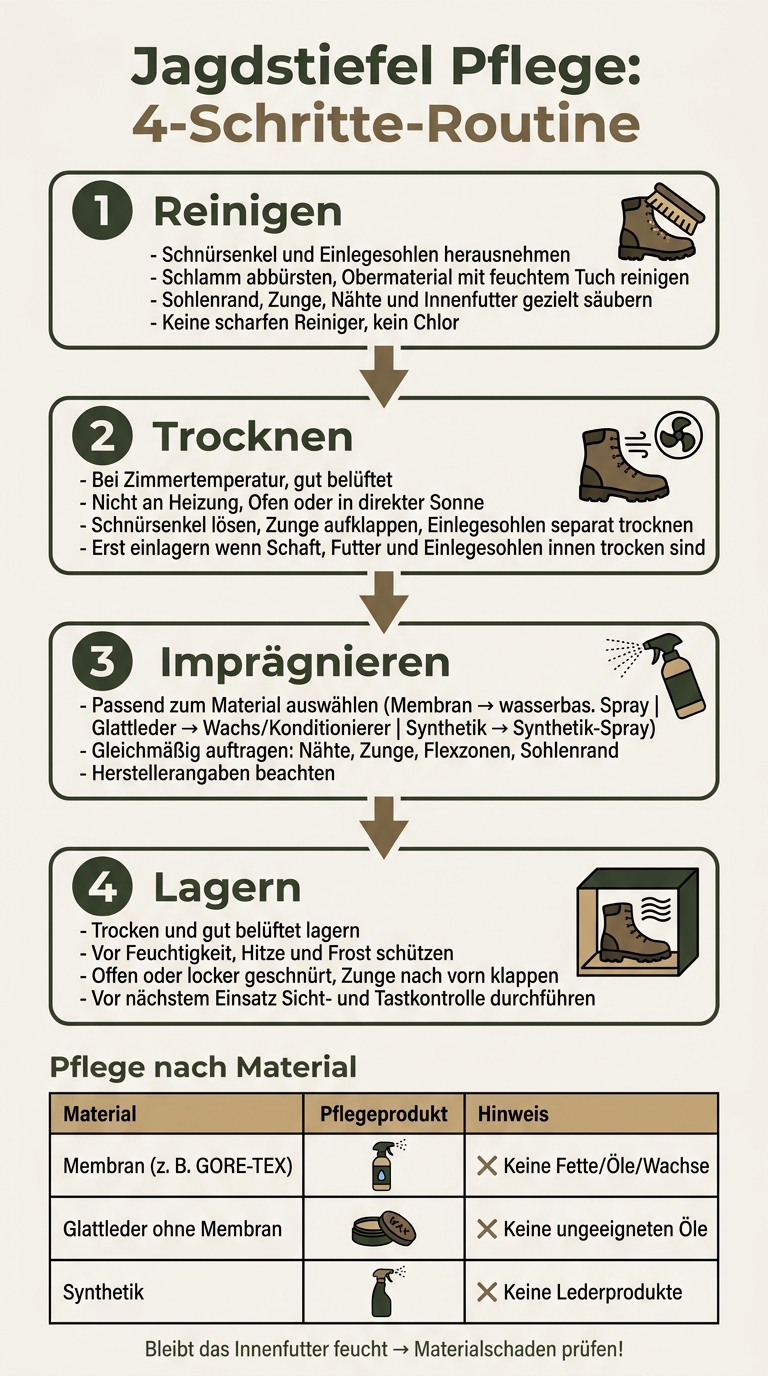
Hunting Boots Care: The 4-Step Routine After Each Use
GORE-TEX Shoes (Shoes & Boots) Proper Cleaning | Care Tips
sbb-itb-1cfd233
Checklist 1: Clean Boots After Every Hunt
First remove the laces and insoles. Shake the boot well and remove stones, dirt, and plant debris.
If the mud is already dry, brush it off first with a soft brush. Then clean the upper material with a damp cloth and lukewarm water. Clean the sole tread separately with the brush to remove stubborn dirt and small stones.
Do not use harsh cleaners, chlorine, or all-purpose cleaners. Such products can attack the material, dry out leather, and damage glue joints between sole and stock.
Places Where Moisture Remains: Sole Edge, Tongue, Seams, and Lining
These four areas need a bit more attention:
| Area | Why Problematic |
|---|---|
| Sole edge | Mud settles here and keeps moisture in the boot for a long time. |
| Lace tongue and gusset | Moisture often remains unnoticed in the folds. |
| Seams | Dirt collects there and slows down drying. |
| Inner lining | Small particles and moisture remain here. |
If these areas are clean, the boots dry more evenly.
Checklist 2: Dry boots without heat damage
After cleaning, the residual moisture must be removed without stressing the material. This exactly protects the material, seams, and bonding.
Place the clean boots in a well-ventilated room at room temperature. Please do not put them on the radiator, near the stove, on underfloor heating, or in direct sunlight. Too much heat can damage the material.
Completely loosen the laces, fold the tongue wide open, and remove the insoles. Let boots and insoles dry separately and stand the boots upright. This allows air to circulate better, even inside.
How to tell if the boots are really dry
Check the dryness inside with your hand. Feel the lining, toe area, and insole. Store only when the shaft, lining, and insoles are dry inside.
Checklist 3: Impregnate shaft – depending on material
Once the boot is dry, apply the impregnation. Apply it evenly to the shaft. Pay special attention to seams, tongue, flex zones, and the sole edge. Moisture often penetrates there first.
How dry the boot must be for this is stated in the product description. Manufacturer instructions always take precedence. If you’re unsure, check the manual or the manufacturer’s instructions directly.
Membrane, leather, and synthetic boots need different care
Not every product fits every material. This is not a detail but the key point: The wrong product can damage the upper material or impair function.
- Membrane boots: water-based sprays
- Smooth leather without membrane: only approved waxes or conditioners
- Synthetic: sprays for synthetic
Comparison table: What fits which material?
Always check manufacturer approval before applying. Which care product fits depends directly on the upper material.
| Boot material | Suitable care product | Products to avoid |
|---|---|---|
| Membrane (e.g. GORE-TEX) | Water-based sprays | Heavy fats, oils, waxes |
| Smooth leather without membrane | Approved conditioner or wax | Unsuitable oils or non-approved products |
| Synthetic upper material | Sprays for synthetic | Products for natural leather |
Checklist 4: Store boots dry and check before the next hunt
After cleaning, drying, and waterproofing comes the final step: store dry. Sounds simple, but often makes the difference. Before putting them away, check all areas for residual moisture – stock, sole edge, tongue, seams, lining, and insoles. Even small damp spots can cause mold, odor, and damage to the material.
Store the boots in a dry, well-ventilated place. They should be protected from direct moisture, heat sources, and frost. Ideally, keep them open or only loosely laced, with the tongue folded forward. This allows air to circulate instead of moisture settling inside.
What you should check before the next use
Before the next hunt, a quick visual and tactile check is usually enough. Focus on the spots where moisture tends to linger longest. Check if anything has come loose on the sole, sole edge, or seams. The lining and insoles should also be dry and undamaged.
If the lining remains damp despite sufficient drying time or water seeps in through the seams, this is no longer a normal care issue. In such a case, it likely indicates material damage. Then it’s worth taking a closer look before the boot goes back to the hunting grounds.
Conclusion: The 4-step routine for ready-to-use hunting boots
The logic is simple: remove dirt early, dry gently, waterproof appropriately, and only store completely dry. Those who consistently follow this process keep their hunting boots in good condition longer.
Surface moisture is normal. Moisture inside is a warning sign. Then you’ll know right before the next sit whether the boots are ready.
FAQs
How long do hunting boots need to dry?
No fixed drying time is given here. What matters more is this: clean your hunting boots after every hunt and ensure good air circulation so moisture doesn’t remain in the material and cause damage.
Wall-mounted or free-standing drying racks are suitable for drying. Afterwards, you should store the boots in a cool, dry place – without direct sunlight and well protected from dust.
How do I recognize a defect instead of residual moisture?
You recognize a defect by visible damage that clearly goes beyond normal wetness. This includes, for example, cracks in the upper material, detached soles, or brittle or hardened seals.
If moisture persists even after an appropriate drying time and deep cracks or material fatigue appear at the joints, this indicates a real defect. Examine seams and sole edges very carefully in good light.
How often should I waterproof hunting boots?
After every hunt, you should clean and re-waterproof your boots.
Check the waterproofing at regular intervals: when water droplets no longer bead off, it’s time for a re-treatment.